
Do you want to build a landing page with payment gateway functionality?
Payment processing gateways let you take online payments for physical and digital products. They’re typically used on eCommerce websites, but you can create a payment gateway landing page to collect payments without an online store.
In this article, we’ll explain step-by-step how to build a landing page with a payment gateway.
Why Does Your Landing Page Need a Payment Gateway?
Landing pages are an effective way to convert website visitors into leads and sales. Because they have fewer distractions than your homepage and other pages on your site, users are more likely to join your email list or buy your products or services.
However, to accept secure payments on your landing page, you’ll need a payment processor like Stripe or PayPal. Payment services like this allow shoppers to pay via direct bank transfer, credit card, and other online payment options.
Connecting your landing page to a payment gateway can also help you sell products and services without building a complete eCommerce site. You’ll be able to create product listings on your landing page design and allow customers to check out from the same page.
This is a great money saver for startups and small businesses without the spare budget to spend on a larger website.
So how do you build a landing page with payment gateway integration? Follow the 2 methods below to learn how.
Creating a Landing Page with Payment Gateway Using SeedProd
First, we’ll show you how to create a landing page and add payment integration with SeedProd.

SeedProd is the best website and landing page builder for WordPress. It lets you create any part of your web design without writing code.
You can use SeedProd to create any of the following:
- High-converting sales landing pages
- Entire WordPress website designs
- Complete WooCommerce websites with checkout pages, product pages, and more.
- Custom headers, footers, sidebars, and page templates
Adding features to your site is easy with its customizable templates, WordPress blocks, and sections.
For instance, you can embed social media follow and share buttons to raise brand awareness and get more followers. Or you can use lead-generating elements like optin-forms, countdown timers, and call-to-action buttons to grow your list and boost sales.
One of the elements we’ll use in this method is SeedProd’s Payment Button block. It lets you take payments from landing page visitors using Stripe. It’s quick and easy to set up and requires zero coding.
So follow the steps below to create a landing page with the Stripe payment gateway.
Step 1. Install and Activate SeedProd
The first step is to go to the SeedProd pricing page and choose a plan. For this guide, we’ll be using SeedProd Pro for its advanced features, but you can use the Stripe Payment Button on any plan, including the unlimited free trial of SeedProd.
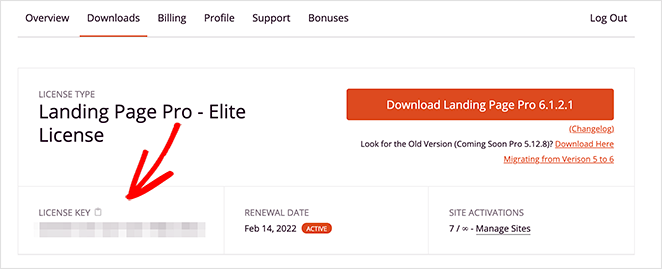
After choosing a plan, log into your SeedProd account and download the plugin file. You can also copy your license key on the same page if you’re using the premium version.
Now go to your WordPress website and upload the SeedProd plugin. If you need help, follow this guide on installing and activating a WordPress plugin.
Once you’ve done that, navigate to the SeedProd » Settings page and paste your license key.
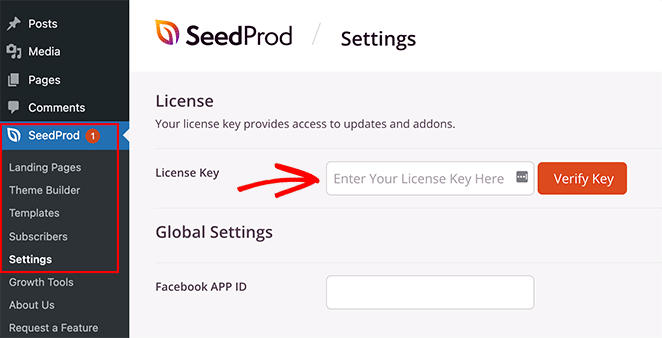
Now go ahead and click the Verify Key button to store your license settings.
Step 2. Choose a Landing Page Template
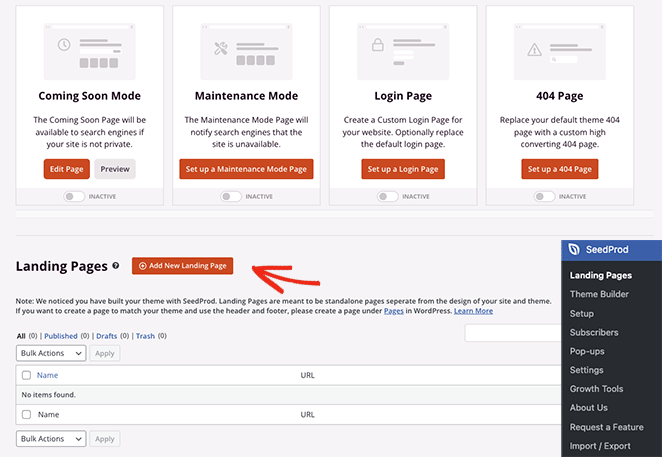
The next step is to choose a template design for your landing page. To do that, you can go to SeedProd » Landing Pages and click on the Add New Landing Page button.
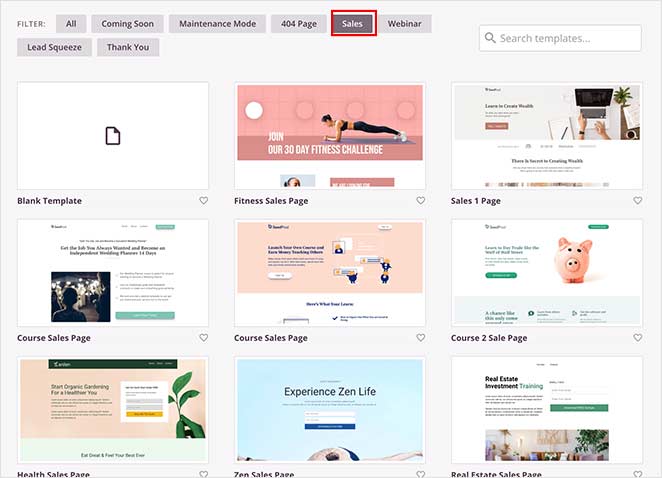
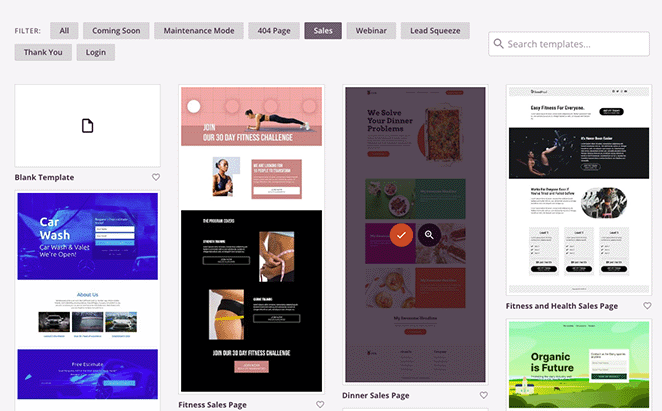
On the following screen, you’ll see a library of professionally designed landing page templates.
You can click any of the filters at the top to narrow down your search. For example, clicking the Sales filter will only show the sales page templates.
When you’ve found a design you like, click the checkmark icon.
After, a popup will open asking you to enter your page name and URL. Don’t worry if you can’t think of a good name; we’ll show you how to edit it later.
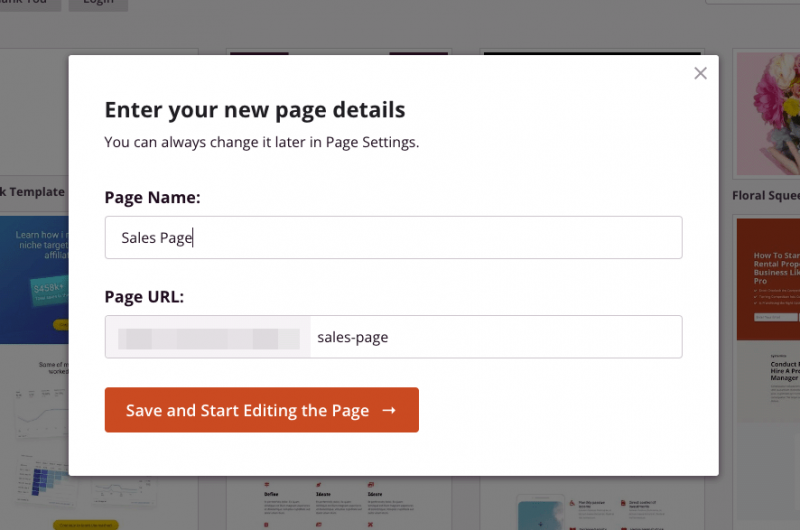
Now go ahead and click on the Save and Start Editing the Page button.
Step 3. Add the Payment Button Block
On the next screen, you’ll see a layout similar to the example below:
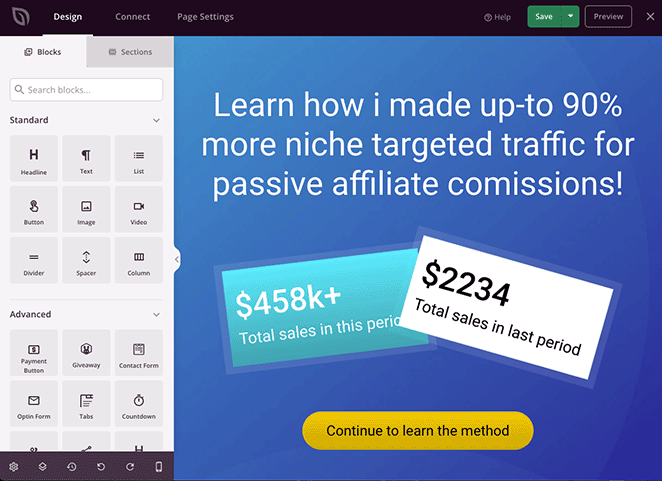
On the left are WordPress blocks and sections you can add to your landing page design. Then, on the right is a live preview where you can preview the changes you make in real-time.
You can customize any part of your landing page by clicking anywhere on the live preview. For example, clicking the headline lets you type directly on the design to change the content.

A settings panel will also open on the left, where you can access advanced settings for customizing your fonts, colors, spacing, HTML, and more.
As you can see in this example, you can also edit sections to change the background image easily. Simply click an element and customize it to look exactly like you want.

Adding a payment gateway to your landing page is just as easy. Simply search for the Payment Button block and drag it onto your page.
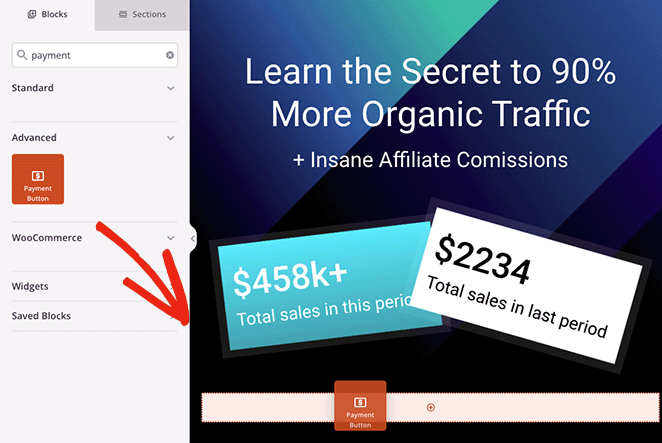
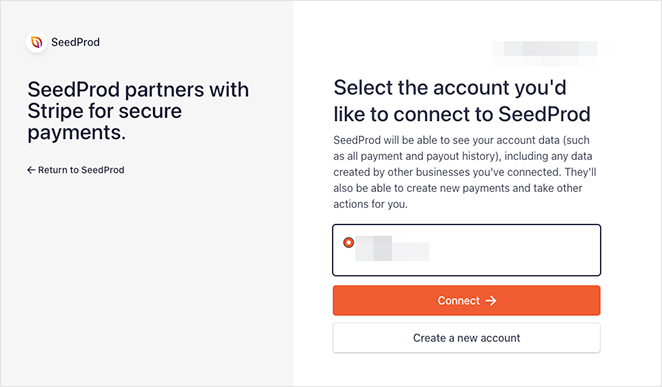
After doing that, the block settings will open, where you can click the Connect with Stripe button to link your Stripe account.

You’ll automatically head to the Stripe login screen, where you can enter your verification code, but you’ll go straight back to your landing page design once the connection is complete.
Once you’ve authorized the Stripe connection, you can customize the payment button settings.
For instance, you can edit the following settings:
- Payment amount
- Payment description
- Payment currency
- Success URL

The Success URL is the page you’d like to redirect shoppers to after they complete their purchase. For example, you can create a thank you page with SeedProd and redirect customers to that page when they check out successfully.
Besides the above settings, you can customize the button text, sub-text, alignment for mobile and desktop, button size, and even add Font Awesome icons.
Need more customization options? Simply click the Advanced tab to find button style, color, font, spacing, margin settings, and more.
With your payment gateway set up, you can continue customizing your landing page until you’re happy with how the design looks.
Remember to hit the Save button in the top-right corner to save your changes.

Step 4. Configure Your Settings
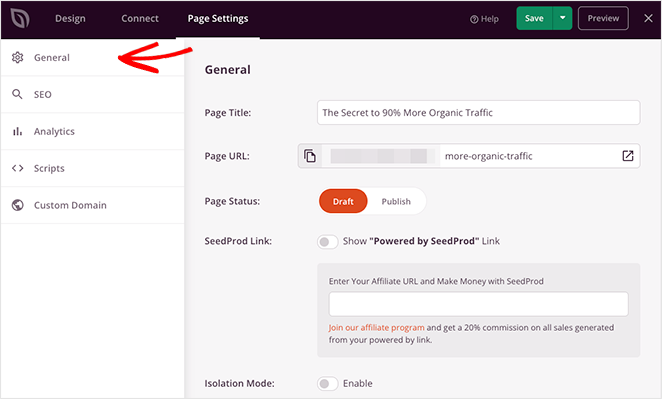
We mentioned earlier that you can change your landing page settings before publishing your page. To do that, click the Page Settings button at the top of the page builder screen.
In the General settings, you can edit your landing page name and URL, publish your page and show your SeedProd affiliate link.
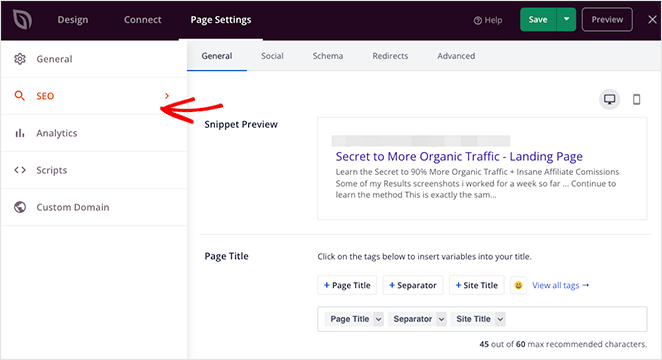
If you have a WordPress SEO plugin like All in One SEO installed, you can click the SEO tab to enter your search engine optimization settings.
Some other settings you can access include the following:
- Track the performance of your landing page with MonsterInsights, a powerful Google Analytics plugin for WordPress.
- Add custom scripts to your web page header, body, and footer for tracking and retargeting.
- Give your landing page a custom domain name separate from your website (Elite plans only).
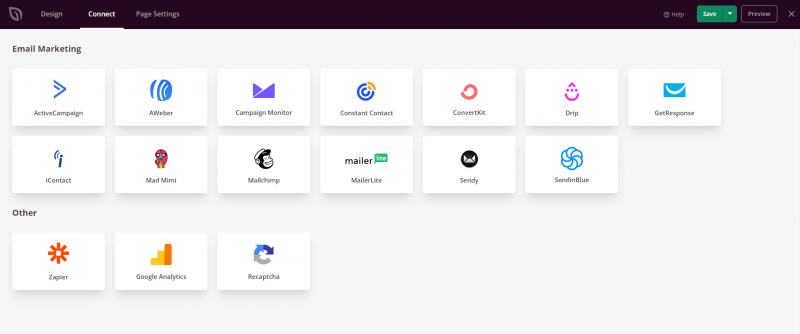
You can also click the Connect tab at the top of the page to link your landing page to your email marketing service, Google Analytics, spam protection, and Zapier.
Step 5. Publish Your Landing Page
When you’re ready to make your landing page live, click the Save button and select the Publish option.
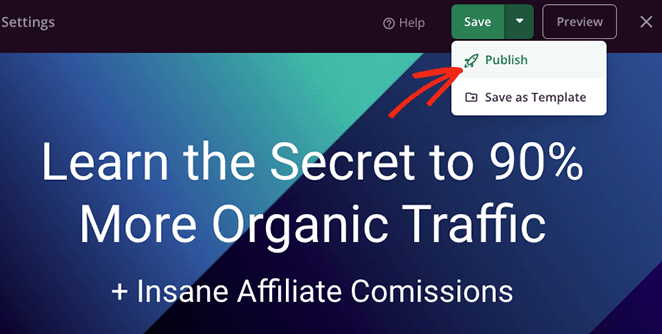
Now when visitors click your payment button, they’ll be able to check out using Stripe.

Adding a Payment Gateway to Landing Pages with WP Simple Pay
Another way to create a landing page with a payment gateway is to use a WordPress payment plugin.
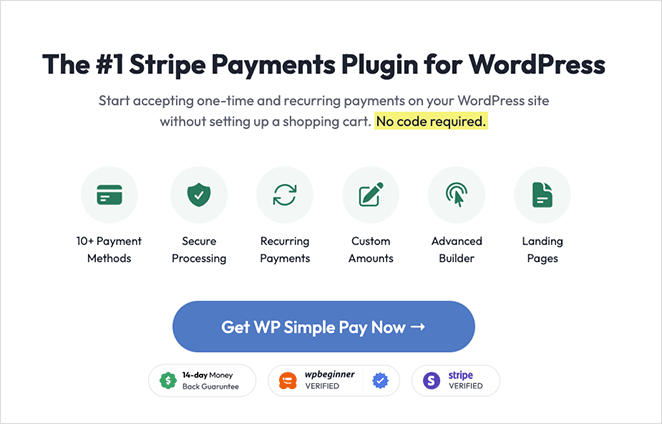
WP Simple Pay is one of the best and easiest-to-use WordPress payment plugins. It lets you add Stripe payments to any post or page on your WordPress site without code.
So if you don’t want to create a high-converting landing page and need a more straightforward option, WP Simple pay is a great choice.
Note: to accept payments using WP Simple Pay; you’ll need an active SSL certificate. Here’s a guide on adding SSL to WordPress if you need help.
Step 1. Install and Activate WP Simple Pay
The first step is to get your copy of WP Simple Pay from their website. Then, go ahead, and install and activate the plugin on your website.
Once the plugin is active, you’ll automatically see the Setup Wizard, which automates your entire setup process.
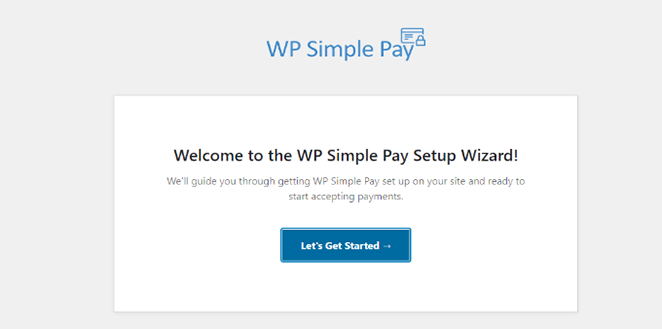
To start the Setup Wizard, click the Let’s Get Started button.
Step 2. Complete the Setup Wizard
The setup process has 4 steps. First, you’ll be asked to enter your WP Simple Pay license key, which you’ll find in your account dashboard in the Downloads section.
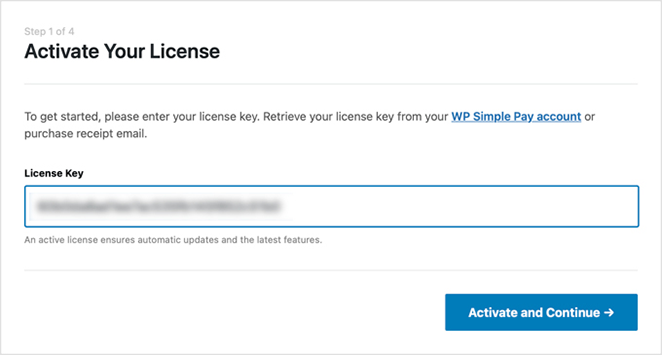
Enter your license key, then click the Activate and Continue button.
On the next screen, you’ll need to connect with your Stripe account, so click the Connect with Stripe button.
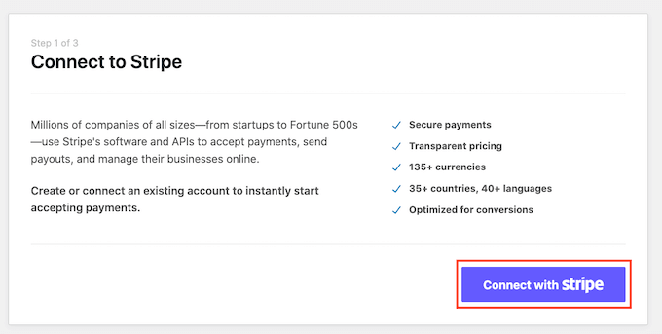
Now you’ll need to log into your Stripe account and verify the connection.
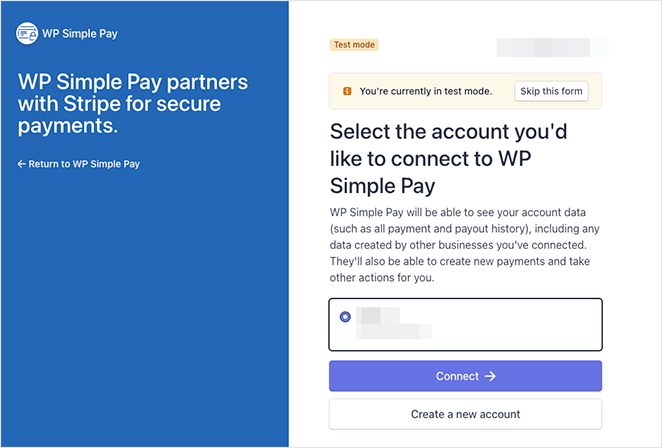
Once you’ve done that, you’ll go back to the setup wizard, where you can choose which emails customers will receive after completing a payment.
For example, you can send a payment receipt, payment notification, invoice receipt, and upcoming invoice.
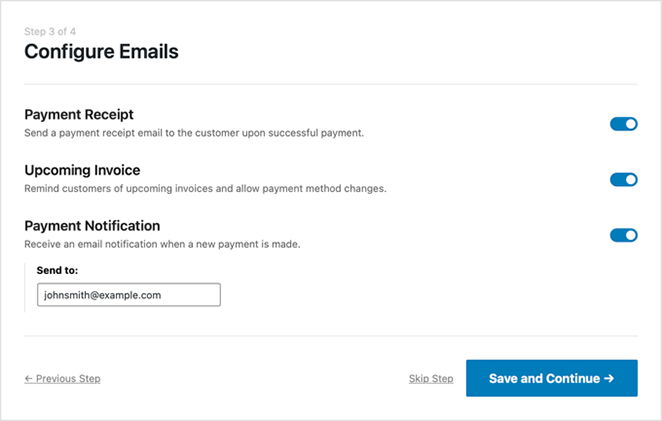
After choosing your email notifications, click the Save and Continue button.
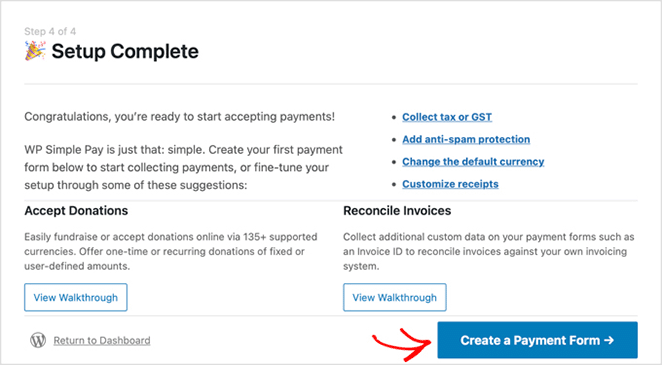
The setup is now complete, and the next step is to create a form for shoppers to enter their payment details. To do that, click the Create a Payment Form button.
Step 3. Create a Payment Form
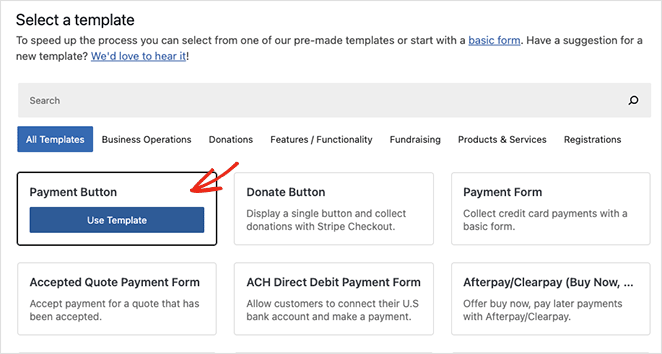
On the next screen, you’ll see the different payment form templates available with WP Simple Pay. You can choose from different form types, including Fundraising, Products and Services, Registrations, Donations, and more.
For this tutorial, we’ll choose the Payment Button template. So hover over the template and click the Use Template button.
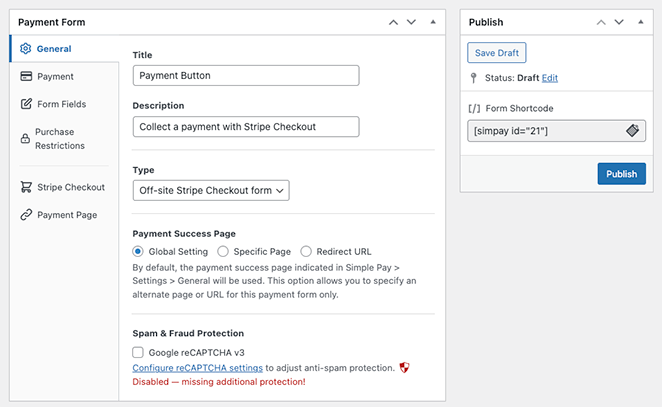
Your payment button settings will now open on the next screen. This is where you can edit general settings, including the button name, description, type, and payment success page.
In the payment tab, you can set up the default price on your payment button and choose between one-time and recurring payments.
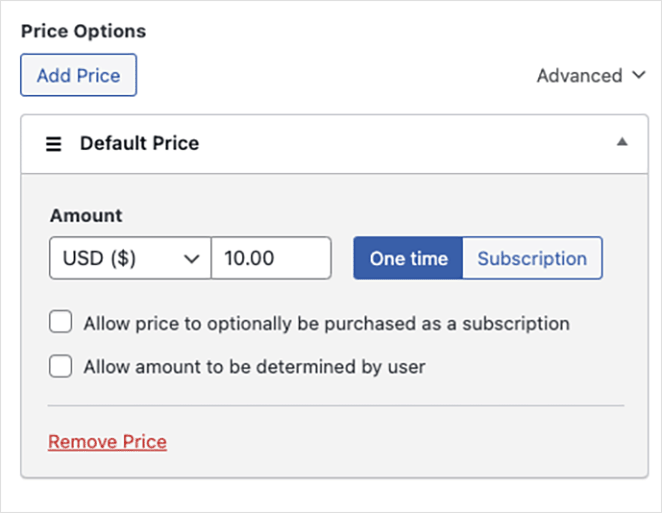
You can also choose from multiple payment methods, including credit card, direct debit, Alipay, Klarna, and Clearpay.
Once you’ve finished customizing your payment button settings, click the Publish button.
Step 4. Add Payment Buton to Your Landing Page
The next step is to add the payment button to your landing page. You can add it anywhere on your page with the WP Simple Pay WordPress block.
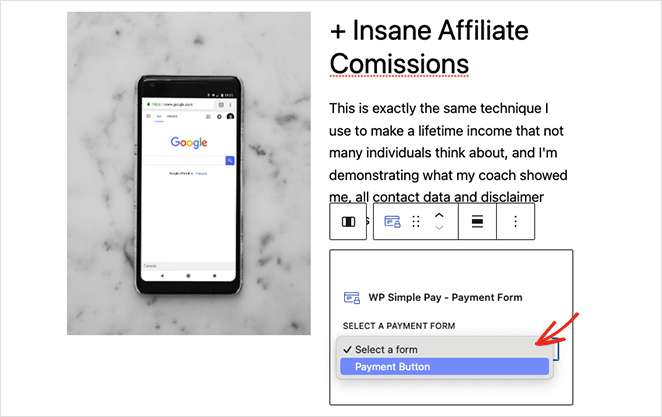
To do this, create or edit a WordPress page, then in the content editor, click the plus button and select the WP Simple Pay block.
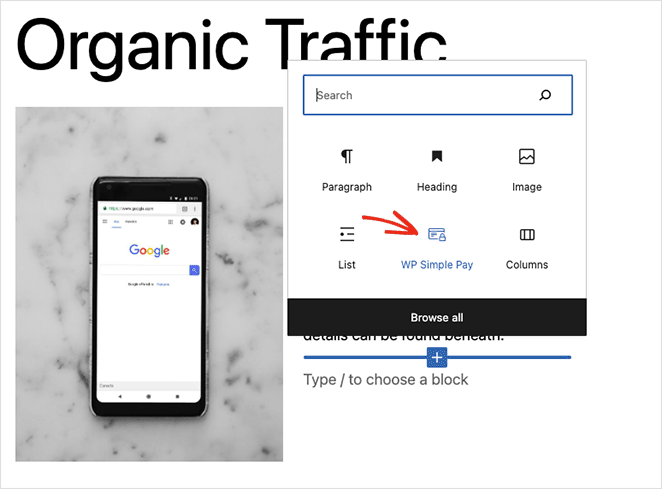
You can then select your payment button from the dropdown menu.
After updating or publishing your landing page, you can preview your payment button and gateway in action.

That’s it!
You now know how to make a landing page with payment gateway functionality.
If you’re interested in creating an entire eCommerce store, here are some tutorials that may help:
- How to Add a Custom Add-to-Cart Button in WooCommerce
- How to Display Product Categories and Tags in WooCommerce
- How to Easily Customize Your WooCommerce Shop Page
Thanks for reading. Please follow us on YouTube, Twitter, and Facebook for more helpful content to grow your business.
The post How to Create a Landing Page with Payment Gateway appeared first on SeedProd.