Do you want to grow your GetResponse mailing list?
If GetResponse is your primary email marketing service, making a GetResponse landing page is the easiest way to get more subscribers and grow your list. But if you find building WordPress pages a challenge, it’s hard to know where to start.
That’s why in this article, we’ll show you how to create a GetResponse landing page easily in WordPress.
Before we dive in, what is a GetResponse landing page, and why should you use one?
What Is a GetResponse Landing Page?
A GetResponse landing page is a type of web page made to collect email addresses from your target audience. The page typically includes a sign-up form that links to your GetResponse email list.
This type of landing page often has an incentive to encourage visitors to part with their email addresses. It could be a free download like an ebook or checklist. Or you could offer a free trial or product demo.
After visitors enter their email addresses, they automatically opt-in to join your email list. Then you can send newsletters and updates right to their inbox.
Now that you know what this type of landing page is, why should you create one in WordPress?
Why Add a GetResponse Landing Page to WordPress?
The main benefit of creating a landing page dedicated to your GetResponse email list is it makes it easier to generate leads. Once users opt-in to receive updates, you have a direct route into their inbox.
And that makes it easier to nurture relationships with your list. Plus, email is 40x more effective at acquiring customers than Facebook and Twitter combined.
But why should you make it in WordPress rather than using GetResponse’s built-in landing page builder?
The simple answer is, when you make a landing page using GetResponse, it’s hosted on the GetResponse servers, NOT your WordPress website. So if anything goes wrong, you could lose control of your landing page.
Their page builder also takes some time to get used to and isn’t as user-friendly as popular WordPress landing page builders. So if you’re unfamiliar with landing page creators, you might find it hard to get things looking the way you want.
Then there’s the domain name of your GetResponse page.
The default option adds a GetResponse subdomain like example-4232/gr8.com. Or you can add a custom domain by changing your DNS settings or adding a CNAME entry to your subdomain.
When you create a landing page in WordPress, you won’t have that problem. Your page will look like any other page on your website, like mysite.com/landing-page. So there’s no need to mess around with any complicated settings.
With all the above in mind, how do you make a landing page for your GetResponse list in WordPress? Let’s find out!
How to Create a GetResponse Landing Page
The easiest way to create a GetResponse landing page in WordPress is with a page builder plugin like SeedProd. SeedProd is the best WordPress landing page builder with beginner-friendly settings.
You can also choose from 100+ mobile-friendly landing page templates designed to generate leads for your business. Then you can use the drag-and-drop editor to customize your landing page design visually without hiring a developer.
With tons of customizable page elements, it’s easy to design your page the way you want. You can add sign-up forms, contact forms, social buttons, countdown timers, and more.
SeedProd also offers powerful page modes you can enable with a single click, including:
So you won’t need multiple WordPress plugins to add this functionality to your website.
The most important thing is SeedProd won’t slow down your website. It’s light-weight and made with bloat-free code, so your pages load as fast as possible.
Ready to start building your landing page for GetResponse? Follow the steps below to get started with landing pages by SeedProd.
1. Install and Activate SeedProd
First, click here to get started with SeedProd and download the plugin. Then install and activate the plugin on your WordPress website.
You can follow this step-by-step guide to install a WordPress plugin if you need help.
Once you activate the plugin, you’ll see a welcome screen asking for your SeedProd license key.

To find your license, log in to your SeedProd Account and click the View License Key, Details, and Downloads link.
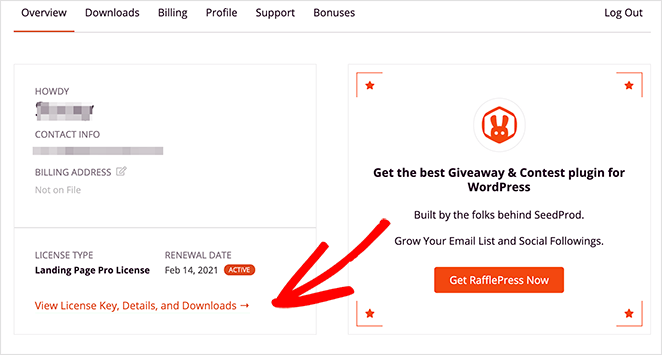
Then go ahead and copy your key to save it to your clipboard. After, paste the key into the license key field and click the Verify Key button.

Next, scroll down the page and click the Create Your First Page button. This takes you to SeedProd’s landing page dashboard.
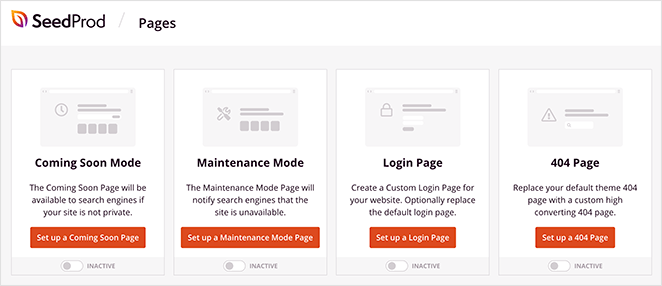
At the top of the page, you’ll see 4 different page modes:
- Coming Soon
- Maintenance Mode
- 404
- Login
These modes let you enable specific landing pages with a single click.
For instance, you can enable Coming Soon mode to add a coming soon page telling people about your new website. Or you can enable Login mode to add a custom WordPress login page to your site.
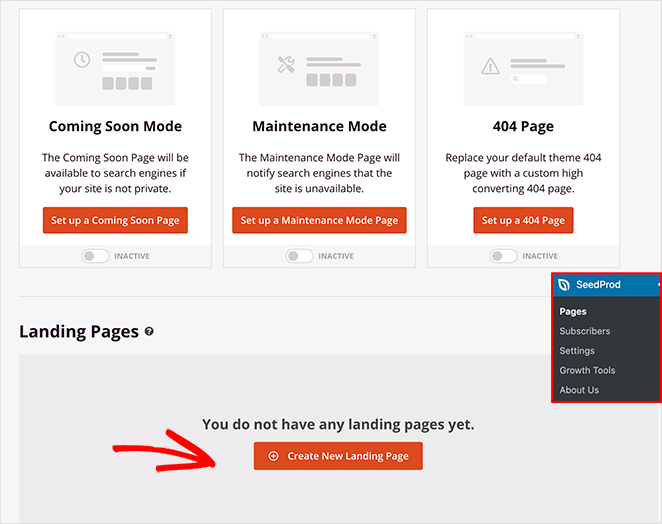
Under that section is where you’ll see a list of any other pages you create with SeedProd. Since we haven’t made one yet, click the Create New Landing Page button to get started.
2. Choose a Landing Page Template
On the following screen, you’ll see SeedProd’s library of responsive landing page templates.
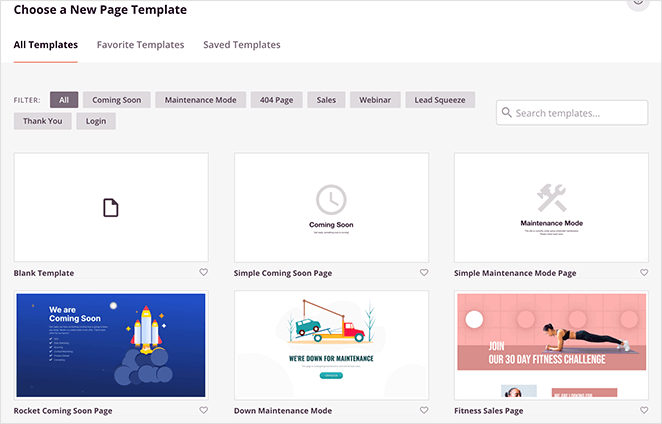
You can filter the templates by goal or industry by clicking the tabs along the top, including:
All of SeedProd’s templates are multifunctional. This means you can use any design and customize it in the drag-and-drop builder to suit your needs.
For this guide, we’ll click the Lead Squeeze filter to see a list of squeeze pages.
Squeeze pages are some of the best types of landing pages for collecting email addresses. They’re designed to focus attention on the signup form and “squeeze” email addresses from visitors.
So browse through the designs, hover your mouse over one you like and click the tick icon to launch it.
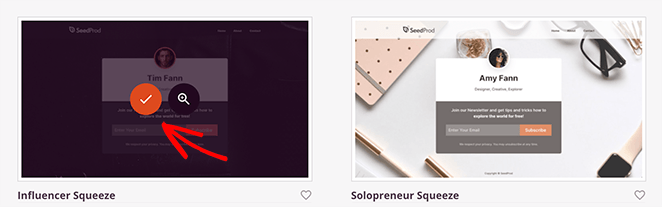
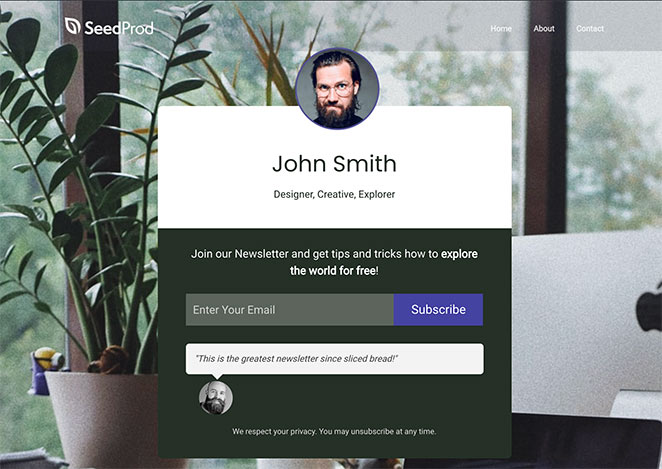
We chose the Influencer Squeeze Page.
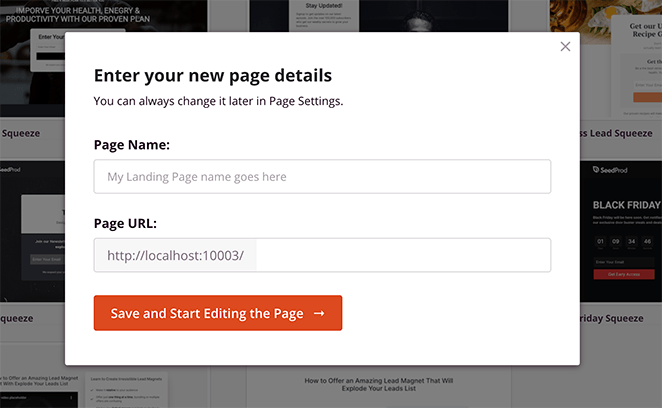
After picking a template, a popup appears asking you to enter a landing page name and URL. You can then click the Save and Start Editing the Page button to launch it in the visual editor.
3. Customize Your GetResponse Landing Page
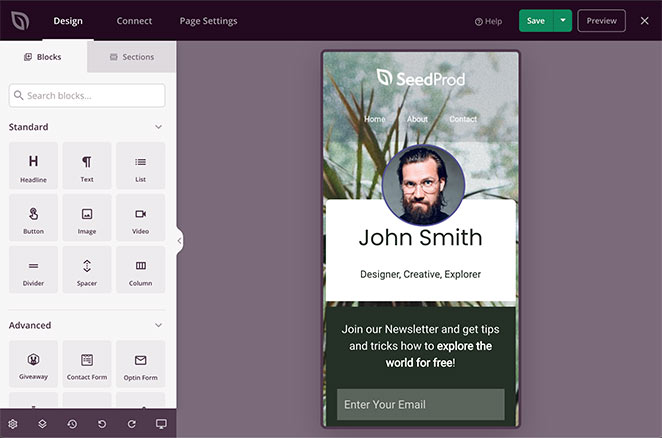
When your template launches, it will look like the example below.

On the left are tabs to choose blocks and sections to add to content to your page. And on the right is a preview of how your landing page looks.
Adding content is as simple as dragging any block from the left and dropping it in place on the right.
For example, if you want to add social proof to your page, click and drag the Testimonial block and drop it where you want to place it on your page.
You can customize any page block by clicking it on your preview. This opens a panel on the left where you can change the content settings.
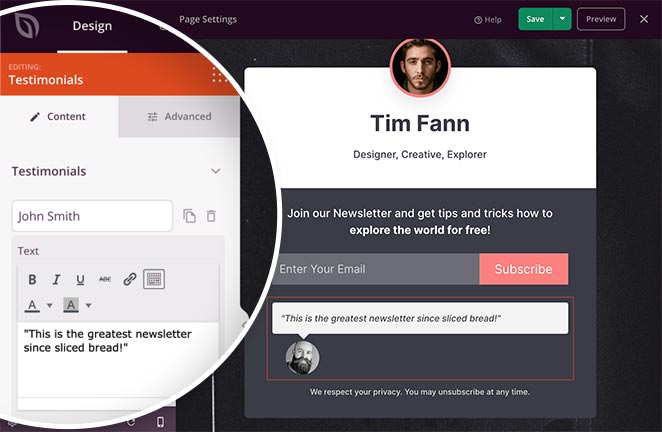
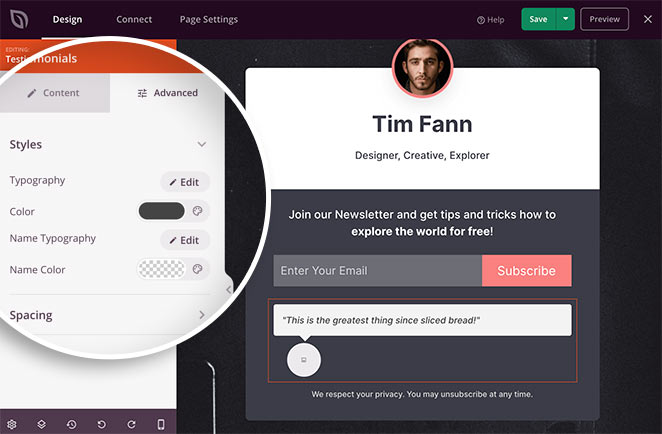
Clicking the Advanced tab on any block shows extra settings to change colors, fonts, padding, etc.
Many of SeedProd’s blocks also have a third tab called Templates. In this panel, you’ll see several different block styles you can use instantly.
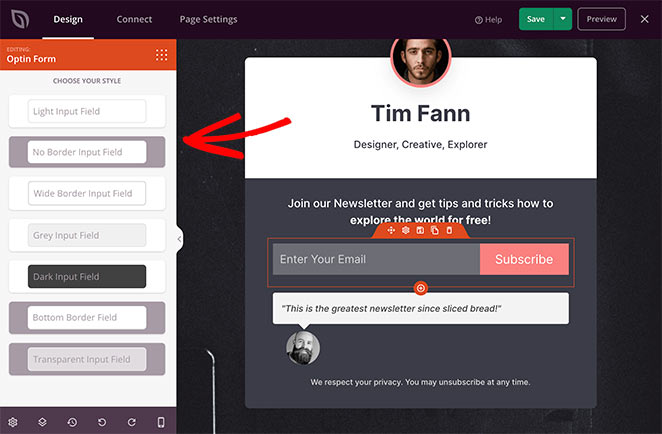
This saves you from manually editing each block setting and is an easy way to make blocks look good quickly.
There are tons of blocks to choose from. Some offer simple design features, like buttons, images, videos, and text. The advanced blocks are where the magic happens.
Here you can add elements to your page that are made just for generating leads, like:
- Optin forms
- Contact forms
- Login forms
- Giveaway widgets
- Social profiles
- Countdown timers
- Testimonials
- Checkout buttons
- Product grids
- And more.
For example, you could add a RafflePress giveaway to your GetResponse landing page as an incentive for users to subscribe.
As well as blocks, you can also add whole extra areas to your landing page.
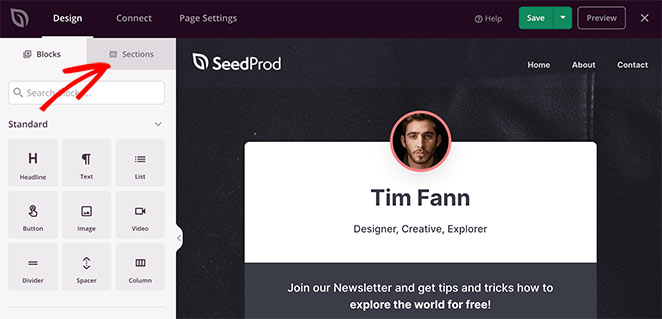
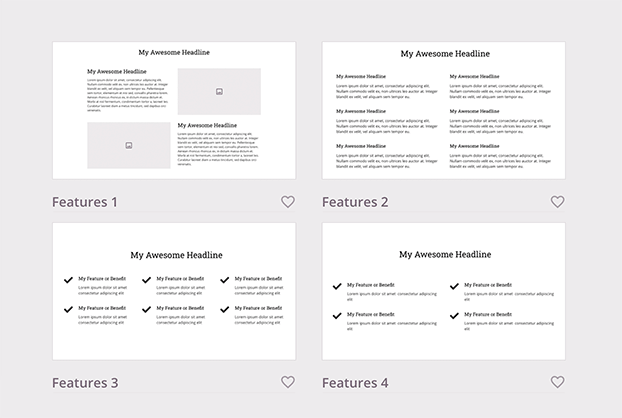
Just click the Sections tab on the left to see pre-made rows and columns designed for specific page areas, like:
- Header
- Hero
- Call to Action
- FAQ
- Features Footer
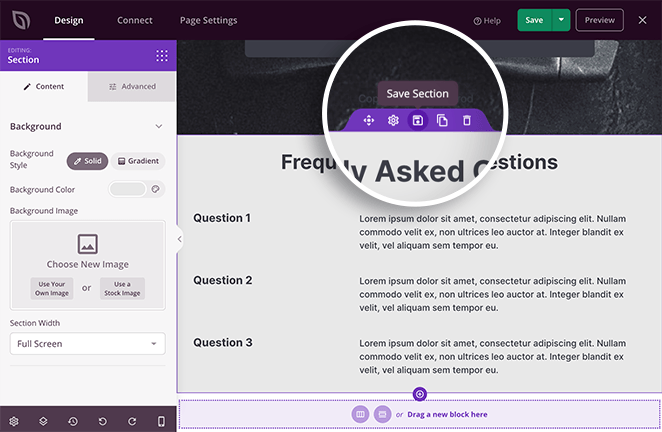
Just find a section you like, click it, and it appears on your page automatically. From there, you can customize your section as you would with any other block.
And if you want to re-use a block or section on another page, you can click the Save icon to add it to your saved sections area.
If you’d like more control over your GetResponse landing page’s look and feel, there are more customization options in the Global Settings panel. To find it, click the gear icon in the bottom left corner of your screen.
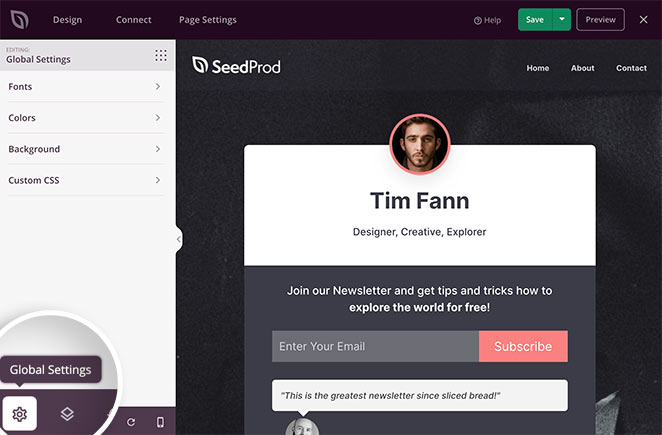
Then you can click the tabs to make changes and apply them to your page globally.
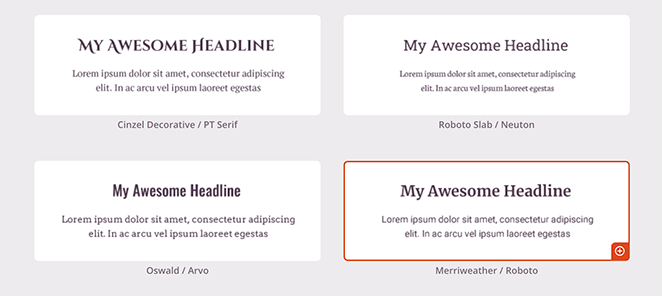
Expanding the Fonts heading lets you change your header and body fonts and weights. It’s as easy as picking a Google font from the drop-down menu.
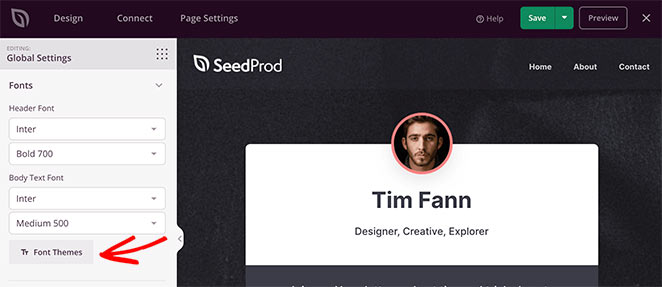
Or you can click the Font Themes button to see examples of different font pairings. From there, it’s just a click to apply them to your page.
The Colours section is similar. Click any color to see a color dropper tool and select individual colors for headings, text, buttons, and more.
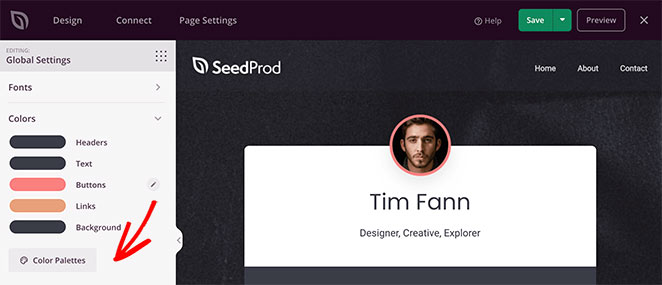
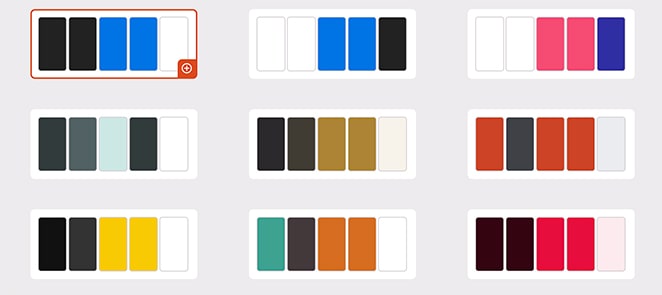
Or you can click the Color Palettes button to choose from over 20+ pre-designed color schemes.
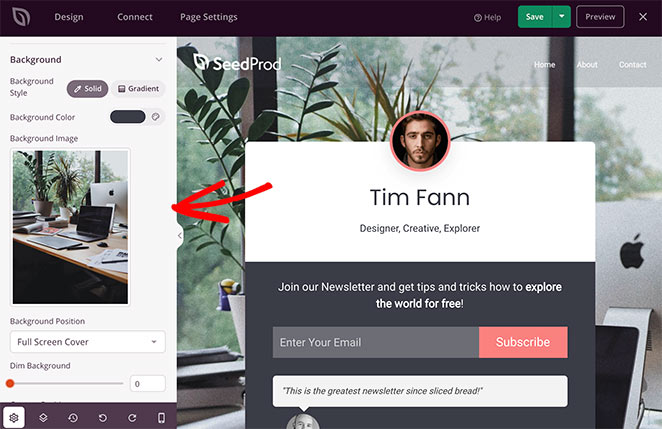
In the Background section, you can control your background color, gradient, and image. If you’d like, you can even add a video background or full-width slideshow.
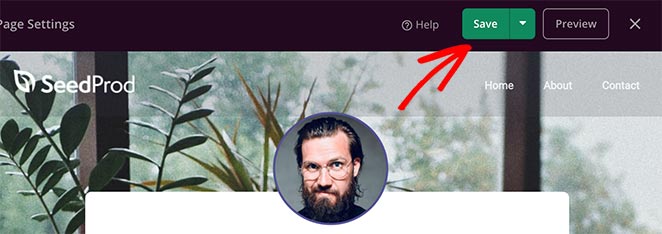
When everything looks the way you want, click the green Save button in the top-right corner of your screen.
4. Integrate Your GetResponse Email List
With your design in place, it’s time to connect your landing page to your GetResponse email list. Since SeedProd integrates with all the popular email marketing services, including GetResponse, this step is super-easy.
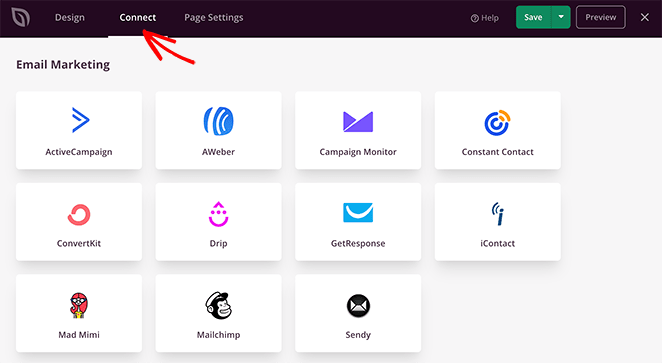
From the top of your screen, click the Connect tab to see the email providers. From there, hover your mouse over the GetResponse logo and click Connect.
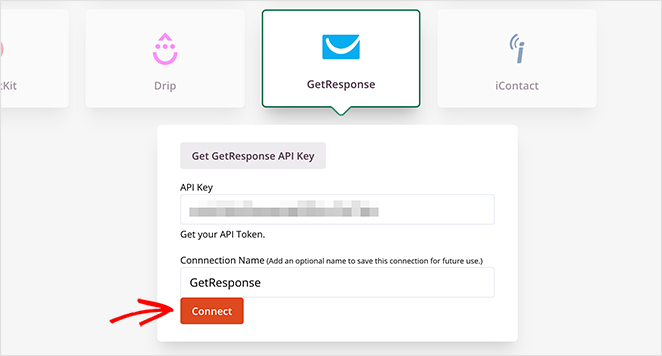
Now, click the + Connect New Account button, and click the Get GetResponse API Key to log in to your account.
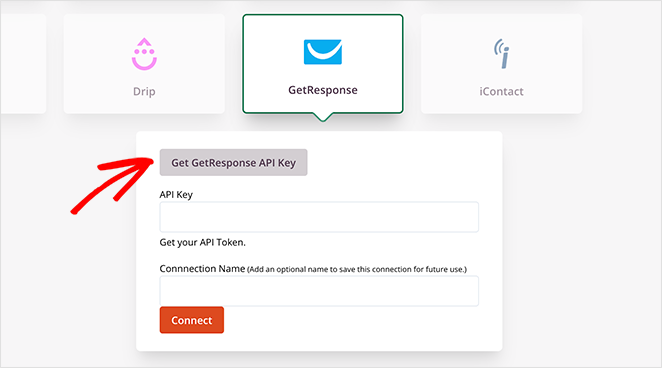
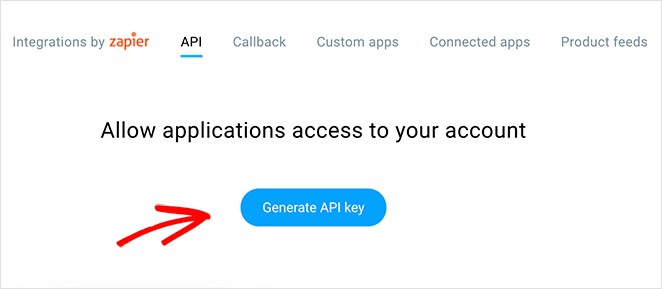
Next, get your API Key which you can find in your GetResponse Account under Account Details » API.
Lastly, enter the API Key in SeedProd and click the Connect button.
You can now choose an email list from the dropdown menu and click the Save Integration Details button.
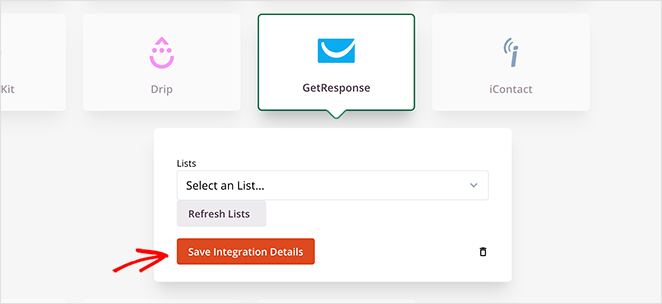
That’s it! Your landing page is now connected to GetResponse.
5. Configure Your Landing Page Settings
After connecting your GetResponse email list, click the Page Settings tab to see other settings you can configure in SeedProd. There are typically 5 sections on the settings page, but this depends on the type of page you build and your SeedProd plan.
General Settings
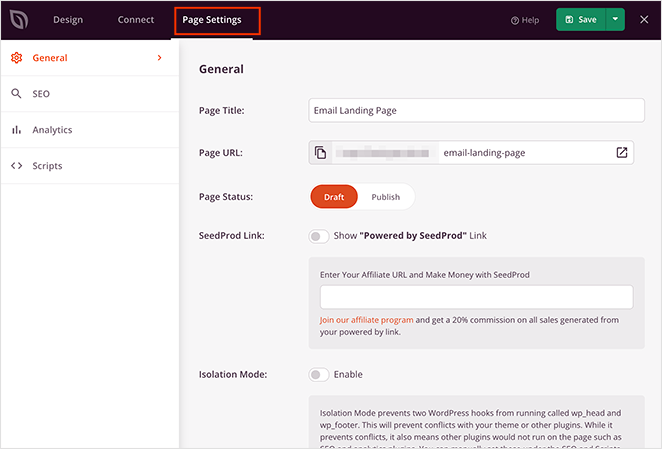
The General settings allow you to change the name and URL for your GetResponse landing page. You can also switch between published and draft.
If you want to avoid any plugin conflicts and speed up your page, you can enable Isolation Mode. This prevents specific header and footer scripts from running and interfering with your performance.
SEO and Analytics
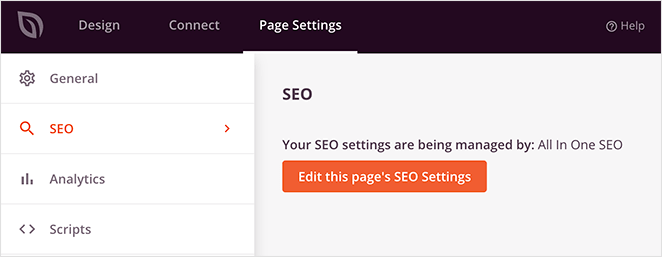
Under the SEO tab, you can use a WordPress SEO plugin to configure your landing page title tag, meta description, etc. One of the best plugins for this is All In One SEO.
The same is true for the Analytics tab. Here you can connect your favorite Google Analytics plugin and monitor your landing page performance. Why not try MonsterInsights for Google Analytics?
If you want more details, you can always check out our MonsterInsights review.
Scripts
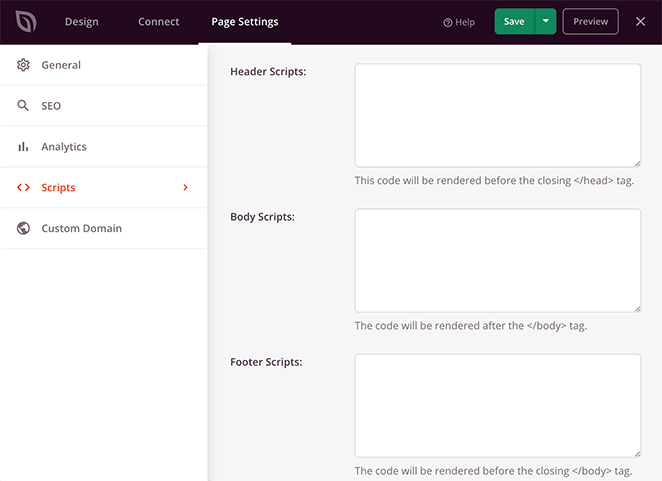
The Scripts area is where you can add code to your page header, body, and footer. This could be anything like your tracking cookies, Facebook tracking pixel, or even your analytics script.
Custom Domain
If you’re a user of SeedProd’s Pro Plan, you can also give your GetResponse landing page a custom domain that isn’t connected to your existing website.
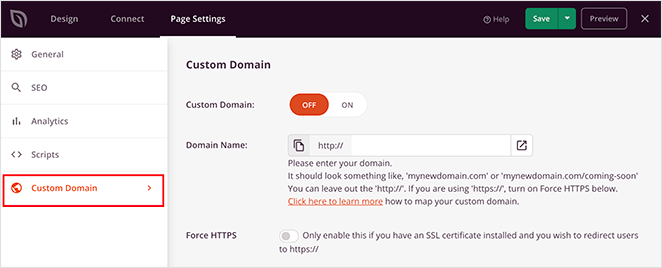
For example, if you want to launch a new website and haven’t set it up, you can create a coming soon page in SeedProd on your existing website and point it to your new site.
With this tactic, you can drive new subscribers to your future website’s GetResponse list without setting up a fresh install of WordPress.
After configuring your settings, save your changes and click back to the Design tab.
6. Publish Your GetResponse Landing Page in WordPress
Before you make your GetResponse landing page live, it’s best practice to test it on mobile devices. If your landing page isn’t mobile-responsive, it won’t look and perform as well on smaller touch screens like tablets and smartphones.
The good news is, SeedProd has a built-in mobile preview option so that you can check your page is mobile-friendly. Just click the mobile icon at the bottom of your screen.
Now you can see how your landing page looks on mobile and make changes to anything that doesn’t look or work correctly.
When everything looks great, it’s time to go live. Click the down arrow next to the green Save button and click Publish.
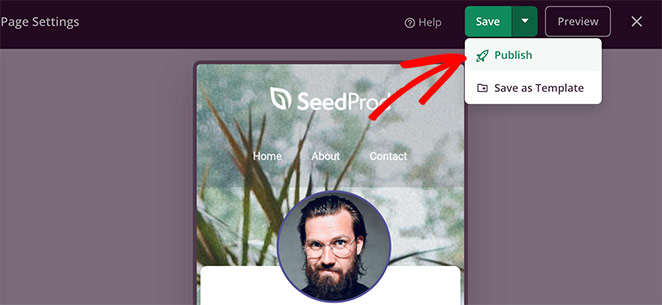
After, you’ll see a window telling you your page has been published. To see a live preview, go ahead and click the See Live Page button.
Congratulations, you now have a stunning new GetResponse landing page!
That’s it!
You now know how to create a GetResponse landing page in WordPress with SeedProd.
With SeedProd’s drag-and-drop page builder, creating high-converting landing pages is easy. It’s beginner-friendly, doesn’t require any tech or coding knowledge, and is focused on generating leads.
Even better, it’s lightning-fast and won’t slow your website down, making it the ideal solution to grow your business.
So what are you waiting for?
If you liked this article, then please follow us on Twitter and Facebook for more helpful content to help grow your business.
The post How to Create a GetResponse Landing Page appeared first on SeedProd.