Do you want to grow your email list?
If Mailchimp is your email marketing provider, the easiest way to increase signups is to create a Mailchimp landing page. Yet, building this type of page in WordPress is often a challenge if you’ve never made one before.
So in this article, we’ll show you how to create a Mailchimp landing page in WordPress, the easy way, with no coding or design skills needed.
- 1. Install and Activate the SeedProd Landing Page Plugin
- 2. Create a New Landing Page with SeedProd
- 3. Choose a Landing Page Template
- 4. Customize Your Landing Page Design
- 5. Connect Your Landing Page to Mailchimp
- 6. Configure Your Page Settings
- 7. Preview Your Page in Mobile
- 8. Publish Your Mailchimp Landing Page in WordPress
Before we start, what exactly is a Mailchimp landing page, and why is it important?
What Is a Mailchimp Landing Page?
A Mailchimp landing page is a web page designed to increase subscribers to your Mailchimp email list. Unlike other pages on your WordPress website, your landing page has only a single goal – to convert visitors into email subscribers and grow your list.
Most landing pages include an incentive to encourage visitors to sign up, like an ebook, checklist, or other free downloads. This is the bait used to obtain a user’s email address.
After, you can use Mailchimp’s email marketing tools to send personalized emails to your list and convert them into paying customers.
Check out these landing page best practices for tips on getting started.
So how do you create a Mailchimp landing page? Let’s find out!
How to Create a Mailchimp Landing Page in WordPress
Mailchimp has a powerful suite of email marketing solutions, including the option to create a landing page. So you might think heading straight to their page builder is the best logical next step.
Yet, there are some drawbacks to taking this approach.
When you make a landing page in Mailchimp, the page is hosted within Mailchimp’s platforms, NOT your WordPress website. This means that if anything goes wrong with Mailchimps’ servers, you’ll lose control over your landing page.
What’s more, you can’t use a custom domain name for your Mailchimp landing page unless you upgrade to one of their paid plans.
Instead, your landing page URL might look something likes this:
https://mailchi.mp/6c3044bf2117/your-landing-page/
which doesn’t provide a professional first impression.
Luckily there’s an alternative to Mailchimp landing pages that is both professional-looking, easy to use, and gives you full control over your page: SeedProd.
SeedProd is the best drag and drop landing page builder for WordPress. It lets you create any type of landing page right inside WordPress, with no coding required.
Every page you build with SeedProd is hosted on your WordPress site, giving you full control over your landing page URL, content, settings, and more.
With tons of stunning landing page templates, getting your page looking the way you want is a breeze. And because the page editor is drag and drop, you won’t need to hire a developer.
SeedProd also includes a powerful coming soon page and maintenance modes. This allows you to hide the nuts and bolts of your development/update process while showing a user-friendly notice to visitors.
More importantly, SeedProd integrates seamlessly with Mailchimp. With just a few clicks, you can connect your Mailchimp email list and start collecting leads instantly.
Plus, unlike other landing page plugins, SeedProd is lightweight and lightning fast. As a result, it won’t slow down your website.
Below we’ll explore all of SeedProd’s features and show you how you can use it to create a Mailchimp landing page in WordPress.
1. Install and Activate the SeedProd Landing Page Plugin
First, click here to get started with SeedProd and download the plugin to your computer. Then install and activate the plugin on your WordPress website.
If you need help with this step, you can follow these instructions to install a WordPress plugin.
After installing and activating SeedProd, you’ll see a welcome screen asking you to enter your license key.
To find your license, log in to your SeedProd Account and click the View License Key, Details, and Downloads link.
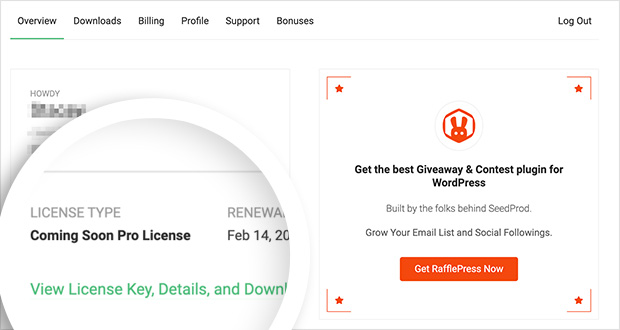
From there, copy your license key.
You can then paste your key in the field provided on your WordPress site.

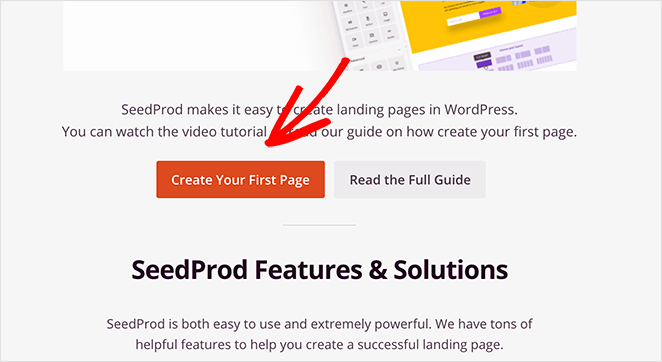
Once you’ve done that, scroll a little way down the screen and click the Create Your First Page button.
2. Create a New Landing Page with SeedProd
The next screen is your SeedProd landing page overview. Along the top of the screen are the different page modes you can activate in SeedProd, which are:
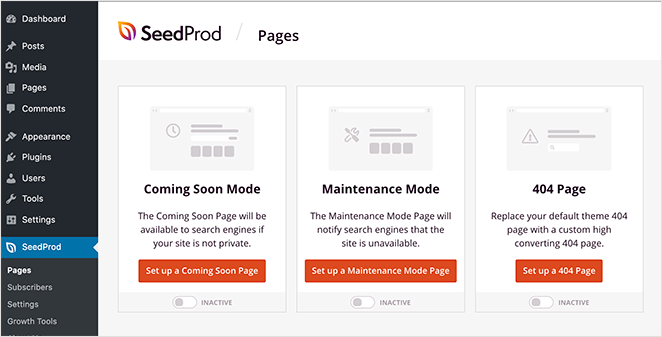
You can turn on each page mode by clicking each toggle from the Inactive to Active position.
Under the page modes section is where your individual landing pages will appear once you make them.
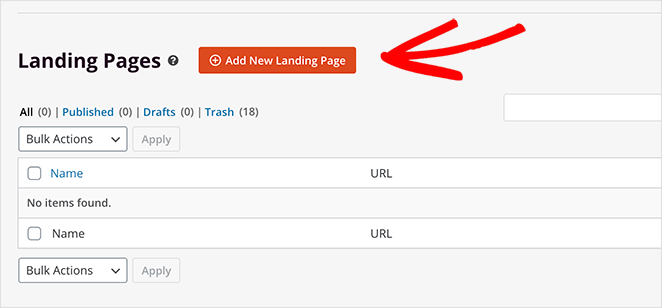
To create your first page, click the Add New Landing Page button.
3. Choose a Landing Page Template
After clicking the button to create your Mailchimp landing page, you’ll see SeedProd’s library of responsive landing page templates. You can customize each template in the drag and drop visual editor.
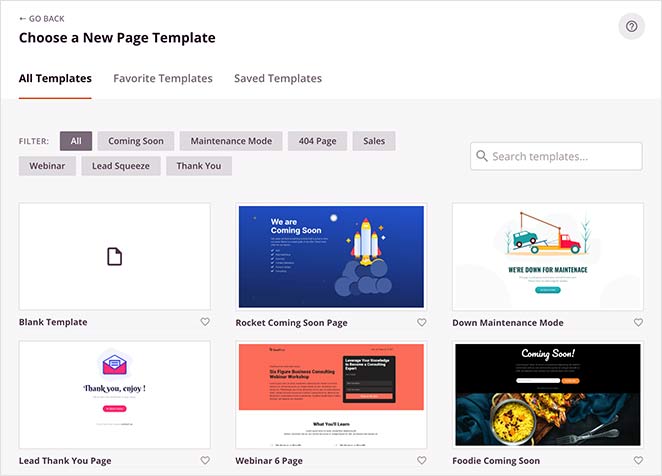
You can filter the templates by clicking any of the following categories along the top of the page:
- All
- Coming Soon
- Maintenance Mode
- 404 Page
- Sales
- Webinar
- Lead Squeeze
- Thank You
Then, it’s merely a case of picking a template that best suits your needs. To launch your template in SeedProd’s visual editor, hover your mouse over the template thumbnail, and click the tick icon.
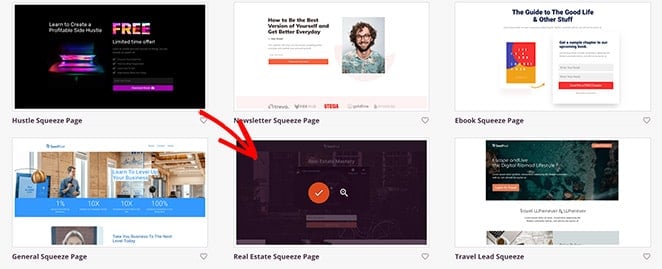
For this tutorial, we’ll use the Newsletter Squeeze Page template.
4. Customize Your Landing Page Design
After launching your template, you’ll see SeedProd’s drag and drop visual editor. The screen is divided into 2 sections.
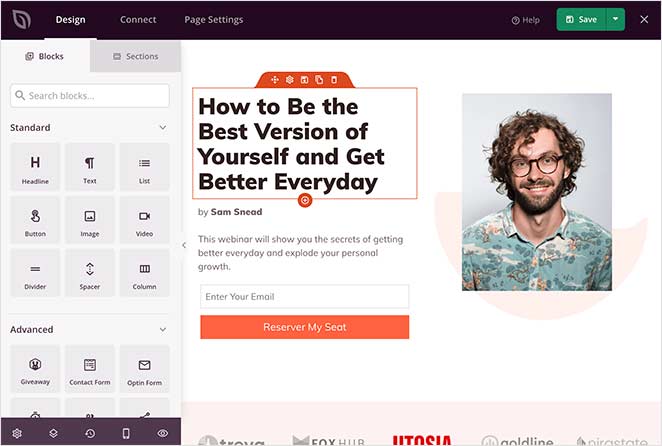
On the left-hand side are the different elements you can add to your page, while on the right is a live preview of your landing page. This allows you to see any changes you make automatically, in real-time.
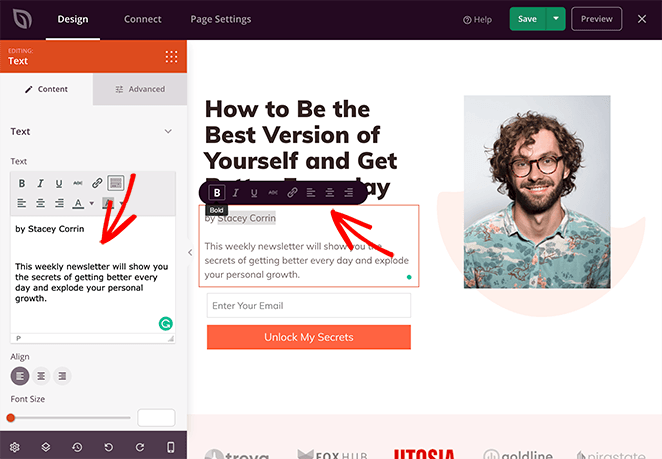
To customize your landing page content, click anywhere on the live preview.
For instance, to change the body copy, just click on the existing copy. This opens a settings panel on the left-hand side where you can add your own content. Alternatively, you can use the in-line editing option on the right-hand side.
You can also use this approach to change the images on your page. Just click an existing image to open the settings on the left-hand panel.
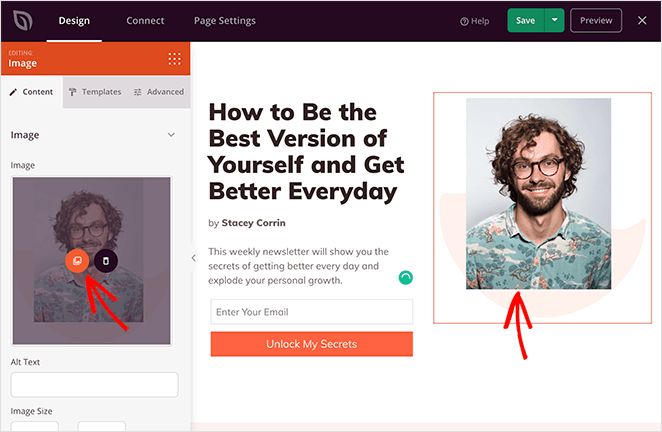
From there, you can delete the default image and replace it with one from your computer or WordPress media library. Alternatively, you can search through thousands of stock images, which are included for free with your SeedProd plan.

After customizing your landing page content, you can add extra content with SeedProd’s landing page Blocks.
Landing Page Blocks
Landing page blocks are the different elements you can add to your page to make it more engaging for your visitors. They come as 2 different block types: Standard and Advanced,
Standard blocks include all the basic page elements, such as images, buttons, headings, and more.

Yet, the Advanced blocks are more focused on generating leads, including:
- Giveaway blocks
- Optin forms
- Contact forms
- Social profiles
- Countdown timers
- Star ratings
- Anchor links
- Progress bars
- And more.
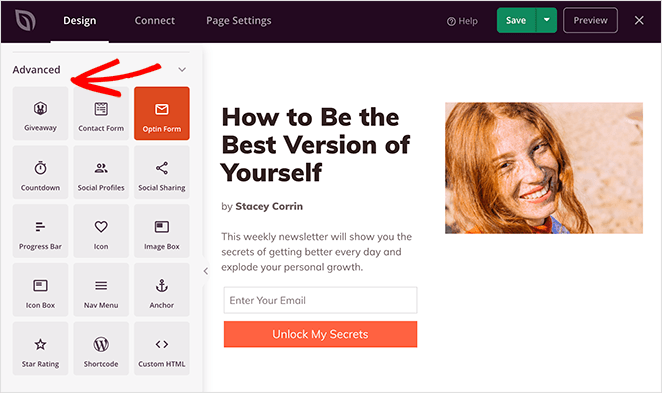
Adding blocks to your Mailchimp landing page is as simple as dragging one from the left-hand panel and dropping it on your page preview. From there, you can customize the content in the settings panel.
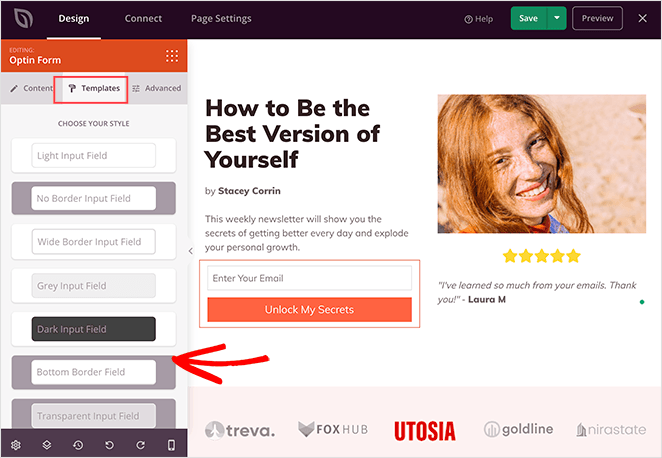
Many of SeedProd’s landing page blocks also come with ready-made templates. These are pre-set block styles you can change with the click of your mouse.
To find them, click any page element and navigate to the Templates tab. Then click the style you like most to apply it to the block.
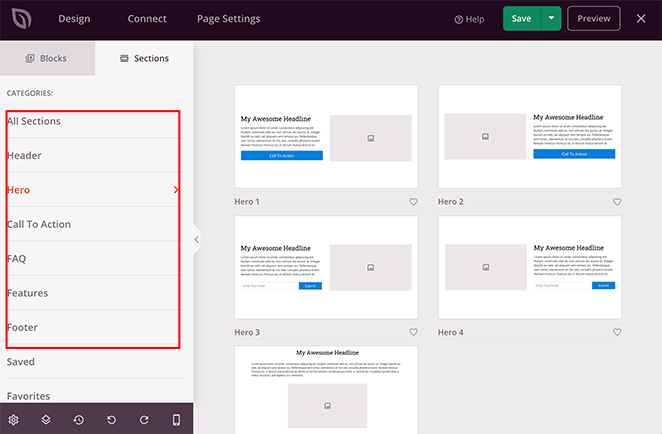
Landing Page Sections
Just like blocks, SeedProd has a variety of landing page sections. These are pre-made block combinations that form entire page areas you can insert with a single click.
To find them, just click the Sections tab and choose from several:
- Headers
- Hero sections
- Calls to Action
- FAQ sections
- Feature areas
- Footers
You can customize page sections the same way as any landing page block. Here’s an example of how a FAQ section would look.
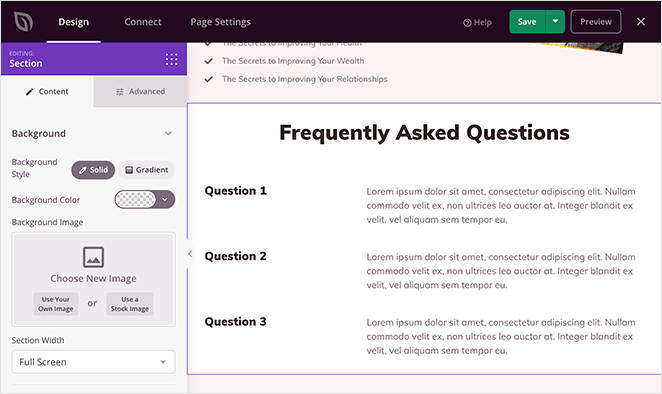
Including FAQs on your Mailchimp landing page is a great way to ease any concerns users may have before subscribing to your list.
Global Settings
If you need more customization options, click the gear icon in the bottom left of the page builder. This opens your global landing page design settings.
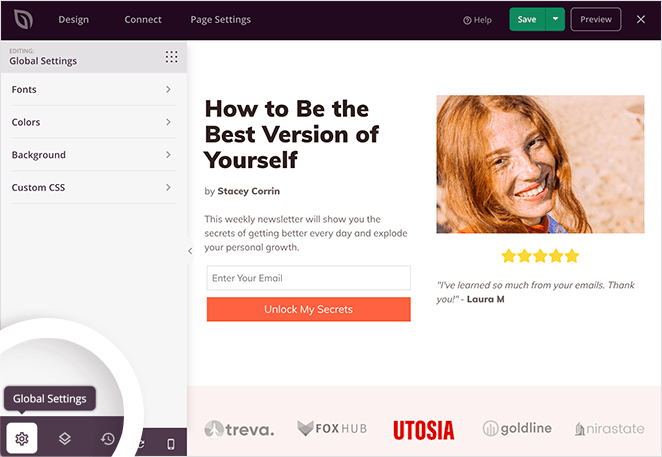
In this area, you can customize your page’s colors, fonts, background, CSS and apply the changes to your page globally.
For example, to change your landing page color scheme, just click the Colors heading. From there, you can select new colors for your headers, links, button text, and more.
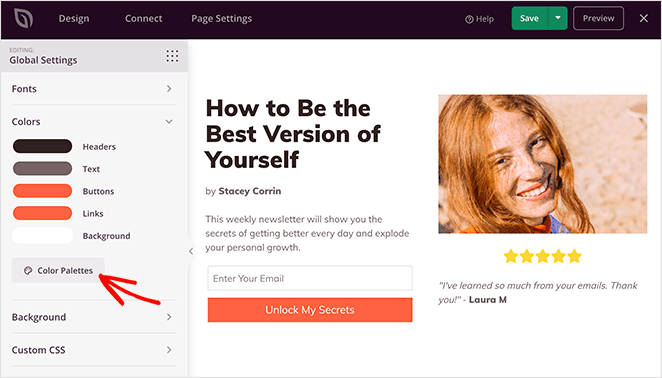
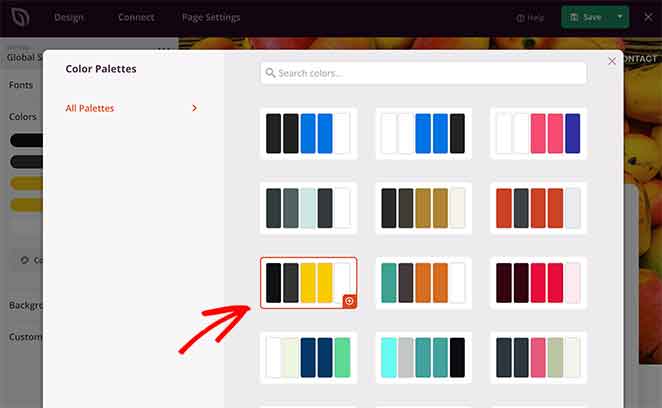
If you’re not sure which colors work well together, you can click the Color Palettes button. This shows a library of over 20+ different color combinations you can add to your page with a click.
Continue customizing your page until you’re happy with your design. Don’t forget to click the green Save button periodically to store your settings.
5. Connect Your Landing Page to Mailchimp
With your landing page design in place, it’s time to connect your page to your Mailchimp account and email list.
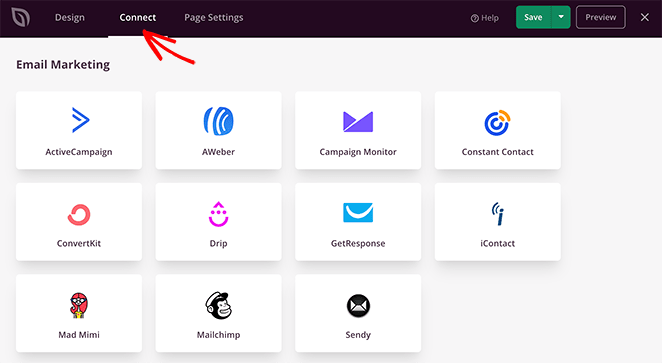
To do this, click the Connect tab at the top of your screen. This will show you all of the available email marketing services you can integrate with SeedProd.
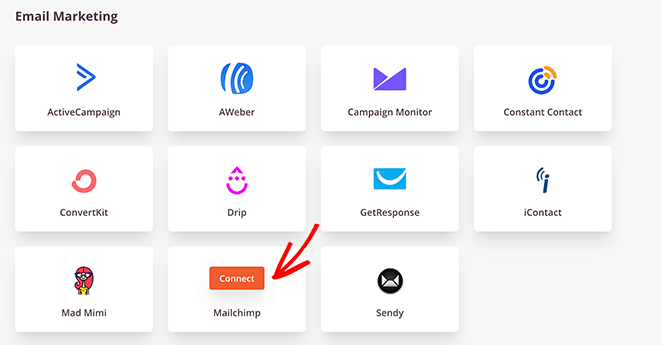
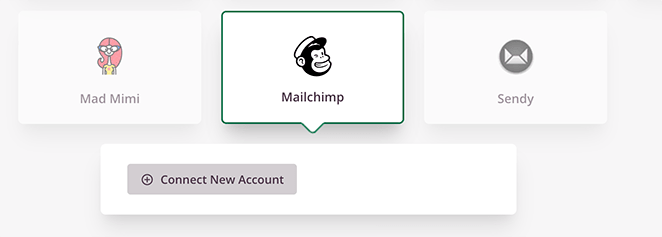
To link your Mailchimp account, hover your mouse over the Mailchimp icon and click Connect.
Next, click the Connect a New Account button.
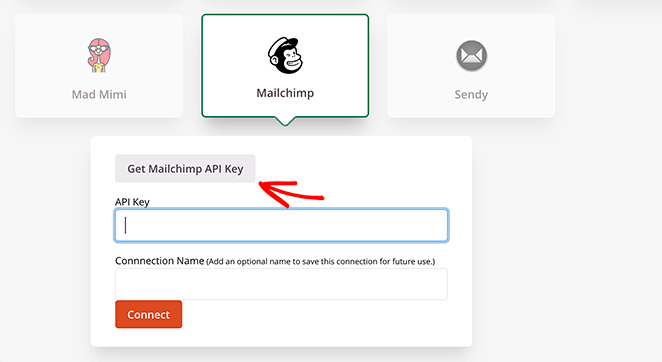
You’ll then be asked to enter your Mailchimp API key and to choose a Connection Name. To find your API key, click the Get Mailchimp API Key button.
This will open a popup window, where you should log in to your Mailchimp account. After logging in, the window will redirect you to your API key.
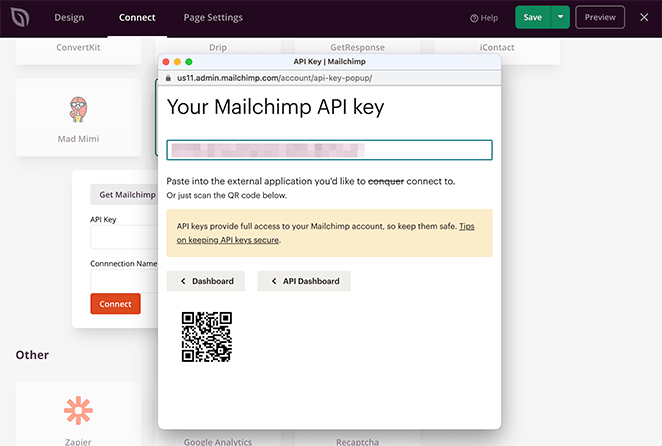
Copy the key and paste it into the field in SeedProd.
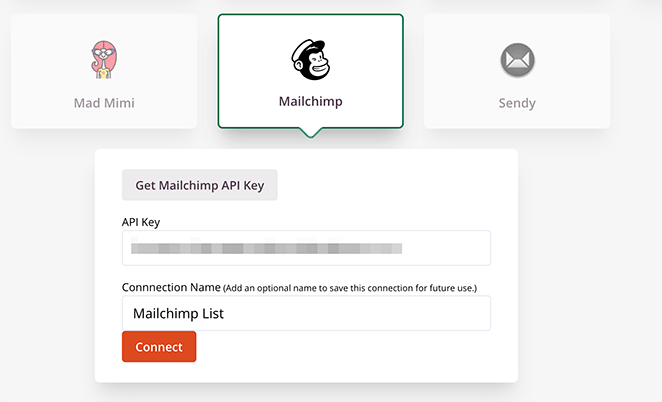
Next, give the connection a name and click the Connect button.
Once you’ve done that, you can choose your preferred list from the drop-down menu and click Save Integration Details.
Now anyone who subscribes to your landing page will be added to your Mailchimp email list automatically.
6. Configure Your Page Settings
Now that you’ve linked your Mailchimp list to your landing page, it’s time to configure a few settings. So, go ahead and click the Page Settings tab at the top of your screen.
There are generally 5 sections on the settings page; however, this depends on the type of page you build and your SeedProd plan.
General Settings
The General settings tab allows you to change the name and URL for your landing page. You can also switch between published and draft.
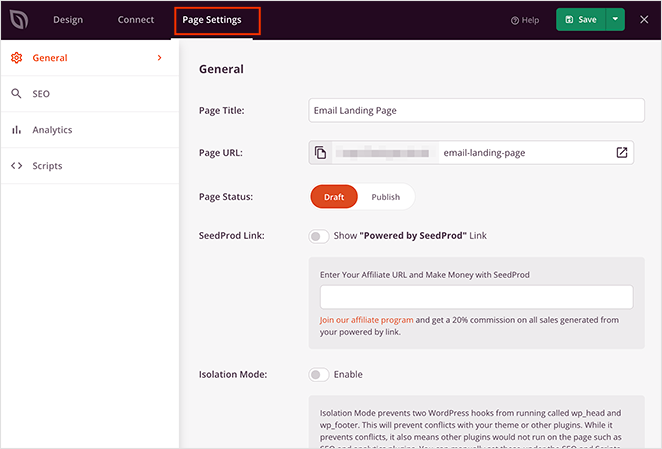
If you want to avoid any plugin conflicts and speed up your page, you can enable Isolation Mode. This prevents specific header and footer scripts from running and interfering with your landing page.
SEO and Analytics Settings
The SEO and Analytics tabs allow you to configure your page’s SEO settings and track your page activity with various WordPress plugins, like All in One SEO and MonsterInsights.
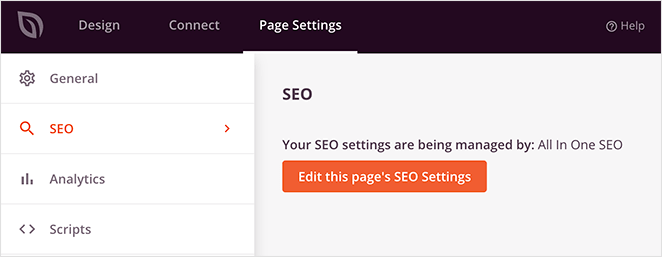
Clicking the button to edit your settings will take you to each plugin’s respective settings page.
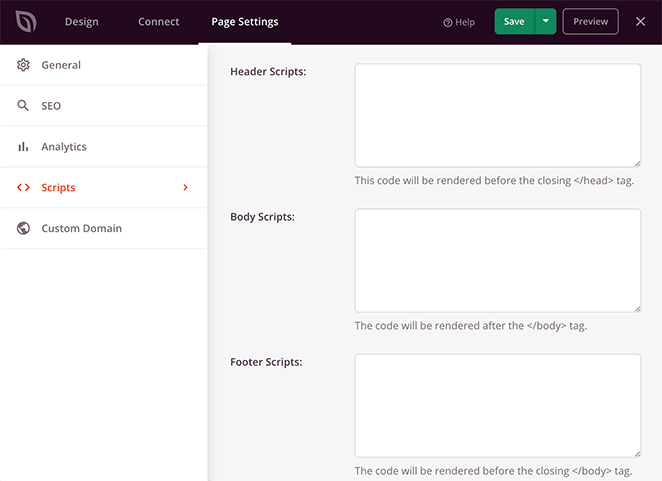
Scripts
The Scripts area is where you can add code to your page header, body, and footer areas. This could be anything from your tracking cookies to your Facebook tracking pixel.
Custom Domain
If you’re a user of SeedProd’s Pro Plan, you can also give your Mailchimp landing page a custom domain that isn’t connected to your existing website.
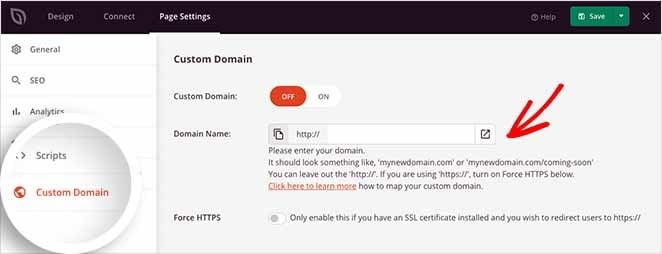
For example, you might want to launch a new website, let’s call it newsite.com, but haven’t set it up.
In this case, you can create a coming soon page in SeedProd on your existing website, oldsite.com, then point the page to your custom domain name: newsite.com.
With this tactic, you can drive new subscribers to your future website’s list without setting up a fresh install of WordPress.
After configuring your settings, save your changes and click back to the Design tab.
7. Preview Your Page in Mobile
Before you make your Mailchimp landing page live, you’ll want to make sure it looks good on mobile screens. If it doesn’t look right on mobile devices, you could look unprofessional and lose potential leads.
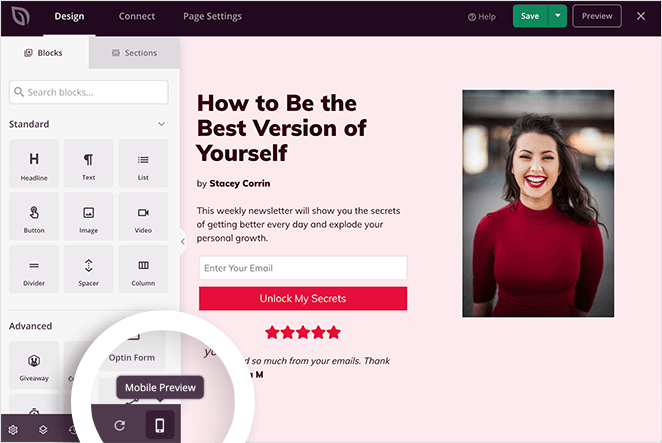
Luckily, SeedProd has a built-in mobile preview option where you can preview your landing page on mobile devices. Just click the Mobile Preview icon to see how your page looks on mobile vs desktop.
If anything doesn’t look the way it should, you can edit your mobile landing page the same way you would with your desktop view.
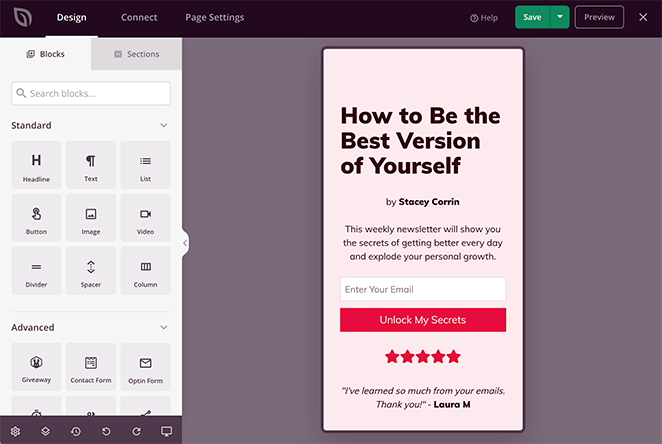
Any changes you make are automatically applied to both versions to keep things looking consistent.
8. Publish Your Mailchimp Landing Page in WordPress
Now the time has come to publish your Mailchimp landing page in WordPress, and this step is just as easy.
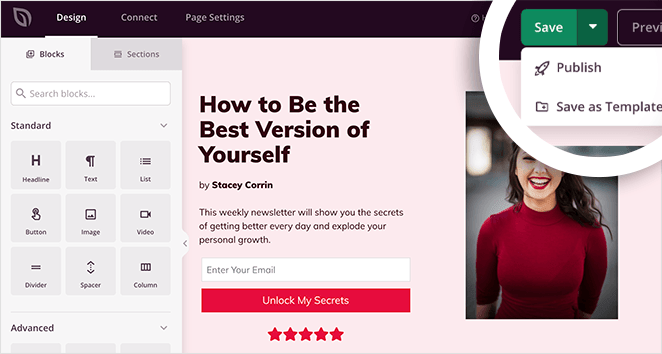
To publish your page, click the down arrow next to the Save button in the top-right corner of your screen. Then, click Publish.
Next, you’ll see a popup telling you that your page has been published.
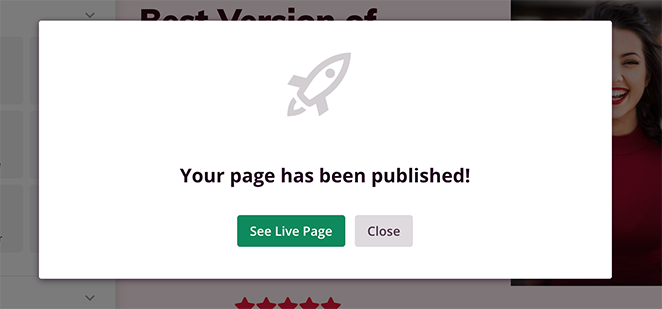
Go ahead and click the See Live Page button to see how your new landing page looks.

Congratulations!
You now know how to create a Mailchimp landing page in WordPress, without writing a single line of code or hiring a developer!
The great thing about SeedProd is it’s so easy to use; even complete beginners can get up and running quickly and easily. With a growing library of templates, point-and-click settings, and popular integrations, creating a high converting landing page in WordPress is easier than ever.
Want to try it for yourself?
If you liked this article, then please follow us on Twitter and Facebook for more useful content to help grow your business.
The post How to Create a Mailchimp Landing Page in WordPress appeared first on SeedProd.