Want to let visitors create their own account on your WordPress site? And do you want to add custom fields to gather extra information?
You can make the entire process easy by creating custom registration forms in WordPress. So in this article, we explain how to use a WordPress plugin for user registration forms with custom fields.
That way, users can sign up and add all the details they need to their accounts.
Since this article is quite long, here’s a table of contents to make navigating easier:
- Build a User Registration Form
- Add Custom Fields to Your Registration Form
- Customize Your Form Settings
- Configure Your Form Notifications
- Set Your Confirmation Message
- Publish Your User Registration Form
Why Create Forms With Custom Fields?
Chances are many of the registration forms you’ve tried in the past, don’t have the option to add specific types of information.
For example, your registration form might need people’s social media profile links to flesh out their profile areas. Or you might want users to enter their website address.
Creating a form that lets you add custom fields gives you more control over the details required to fill in your form and register.
What’s more, when you use a WordPress user registration plugin with custom fields, you won’t need to start from scratch, saving you tons of time you can use to focus on other areas of your business.
Creating Custom Registration Forms
Now that you know why adding custom fields to registration forms is important, let’s look at how to create one in WordPress.

For this tutorial, we’ll be using WPForms, the best WordPress contact form plugin. WPForms makes it easy to create any kind of form for your website. And with the Registration Addon, creating user registration forms with custom fields is a breeze.
So go ahead and get your copy of WPForms here. You’ll need the Pro version to take advantage of ready-made registration form templates. Then when you’ve downloaded the plugin, you can learn how to install a WordPress plugin here.
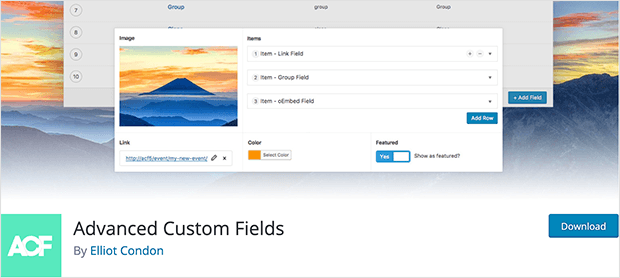
We’ll also be using the Advanced Custom Fields plugin to add custom fields to WordPress, which you can then use in your registration form.
When you’ve downloaded and installed the plugins you need, move on to Step 1 to build your user registration form.
Step 1: Build a User Registration Form
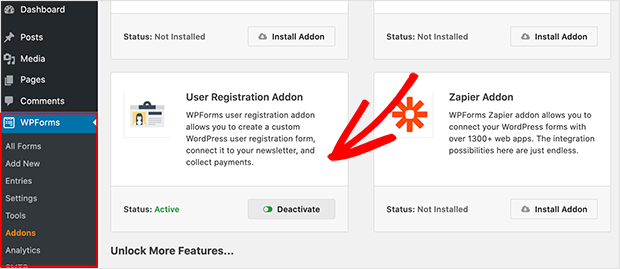
To begin building your user registration form with custom fields, head to WPForms » Addons from your WordPress admin area. Then locate the User Registration Addon and click Activate.
Next, go to WPForms » Add New to create a new form.
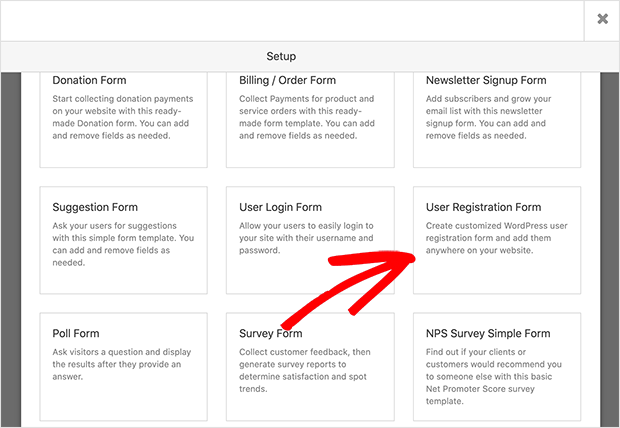
Then on the setup screen, give your form a name and choose the User Registration Form template.
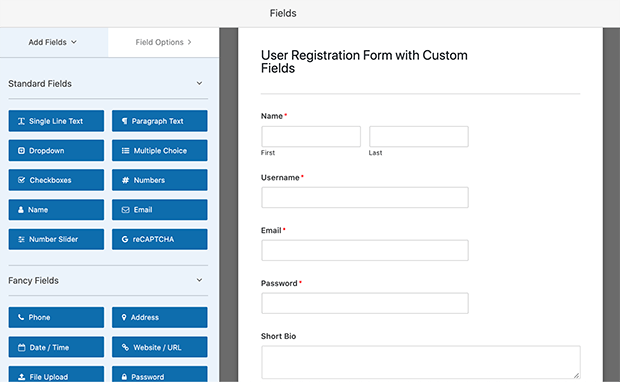
Upon clicking the template, WPForms creates a default user registration form, which you can go on to customize.
You can rearrange the fields on your form by dragging elements to a different position. And adding new form fields is as simple as dragging them from the left-hand panel and dropping them on the right-hand panel.
But how do you add custom fields to your user registration form? Let’s look at that next.
Step 2: Add Custom Fields to Your Registration Form
For this tutorial, we’ll demonstrate how to add custom profile fields to your registration forms. This is where the Advanced Custom Fields plugin mentioned earlier comes in to play.
So to begin, you’ll need to add custom profile fields to your WordPress website. To do that, go to Custom Fields » Add New.
Then give your field group a name like “User Profile.” After that, click Add New to add a field to that group and enter the name and label details.
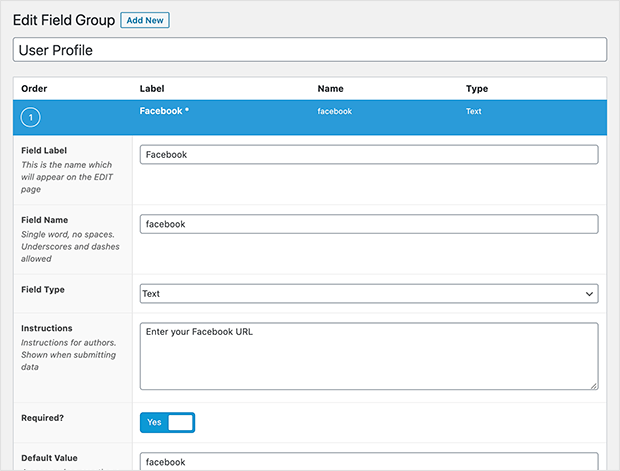
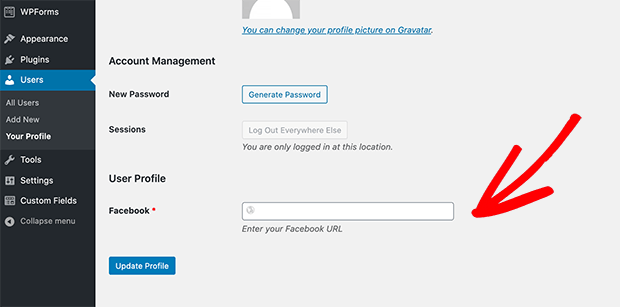
When you’re happy with the details, click Publish to activate your custom field. Then to see it in action, navigate to your WordPress profile by clicking Users » Your Profile.
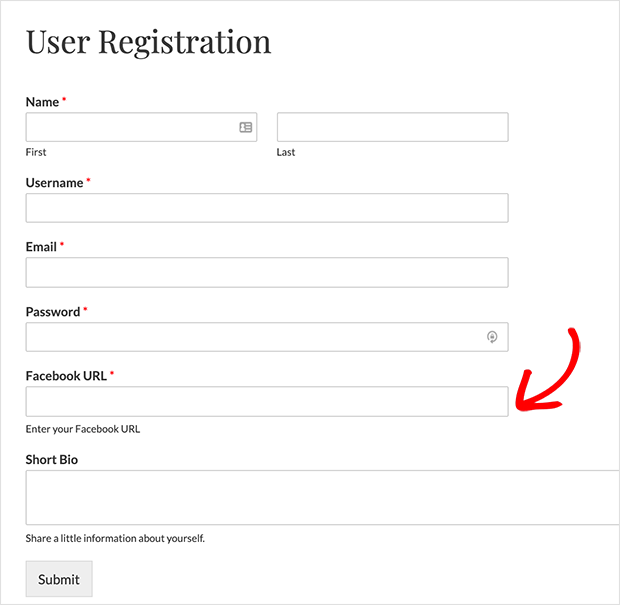
As you can see in the image below, your profile now has a field for your Facebook URL.
Now that we’ve created the custom field in WordPress let’s add it to your user registration form.
Head to WPForms » All Forms to see a list of the forms you created. Then click Edit on the user registration form you created a little earlier.
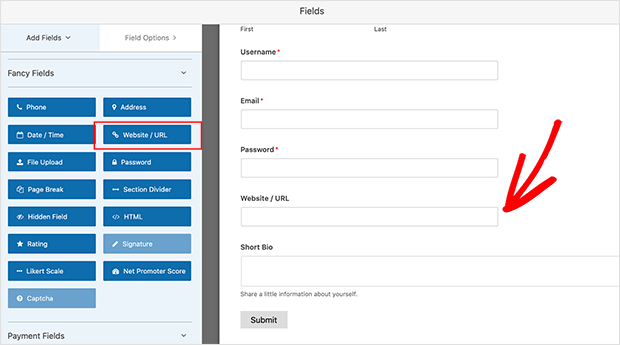
After that, drag the Website URL field from the left-hand panel and drop it onto your form preview.
Since we’re adding a Facebook URL option, we’ll need to change the name of the field. To do that, click the website URL field and edit the label and description in the left panel.
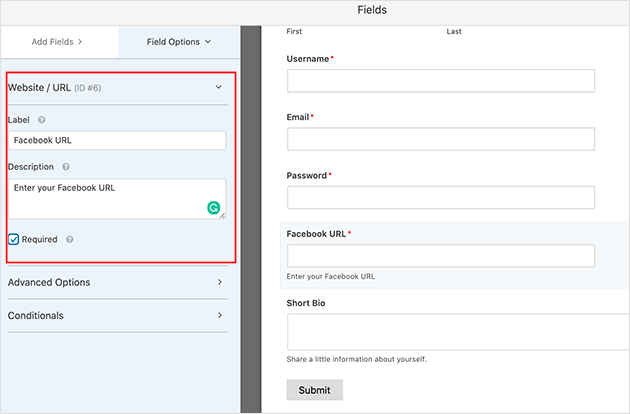
Don’t forget to click Save to confirm your changes.
Step 3: Customize Your Form Settings
The next step is to customize your form settings, so your custom field sends the information to the right place.
So click the Settings tab and navigate to User Registration. On this page, you can configure the user registration settings such as:
- Map each form field
- Select user default role
- Enable notifications
- Select which confirmation page to redirect users
And if you scroll to the bottom of the page, you’ll see a new section for your custom meta information.
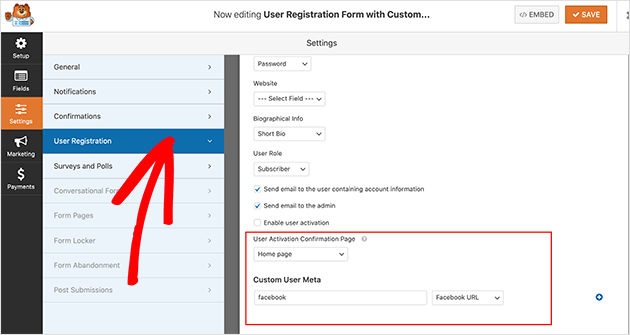
Here you can enter the meta key you assigned to the custom field you created earlier. When you’ve done that, click Save.
Step 4: Configure Your Form Notifications
Now let’s look at the notifications page by heading to Settings » Notifications.
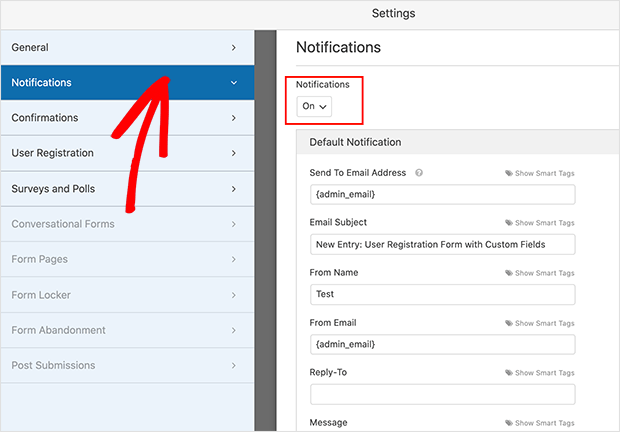
By default, notifications are switched on, which means you’ll receive an email notification whenever someone registers on your website.
For help configuring these settings, check out the WPForms documentation on how to set up form notifications in WordPress.
Step 5: Set Your Confirmation Message
For this step, we’ll look at setting up messages that users will see when they submit a user registration form.
This is helpful if you need users to confirm their account to complete the registration process as you can show a message thanking them for registering and to watch out for your email.
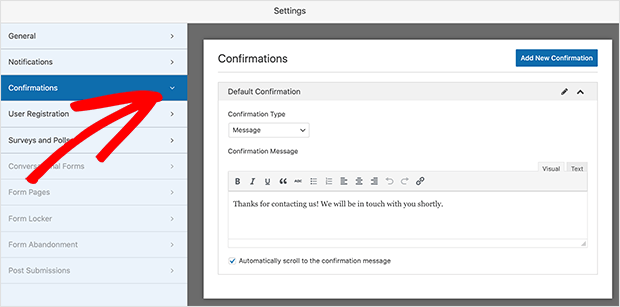
There are 3 confirmation types in WPForms, and they are as follows:
- Message – This is the default confirmation. When users complete your form, a message appears, letting them know it went through successfully.
- Show Page – This confirmation type sends users to a specific web page on your site thanking them for registering.
- Go to URL (Redirect) – This option is used when you want to send customers to a different website.
When you’ve chosen your confirmation message type, click Save and move on to adding your user registration form with custom fields to WordPress.
Step 6: Publish Your Registration Form With Custom Fields
WPForms makes it really easy to add your form to your WordPress website. You can publish your registration form in a post, page, or even your website’s sidebar.
Let’s look at publishing your user registration form on a WordPress page.
To start, go to Pages » Add New to create a new Page.
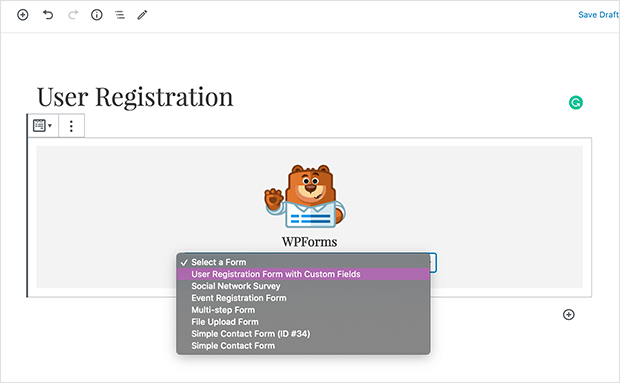
Then in the WordPress editor, click the Plus (+) icon to add a new content block. In the search box, type WPFroms to reveal the WPForms block and click to add it to your page.
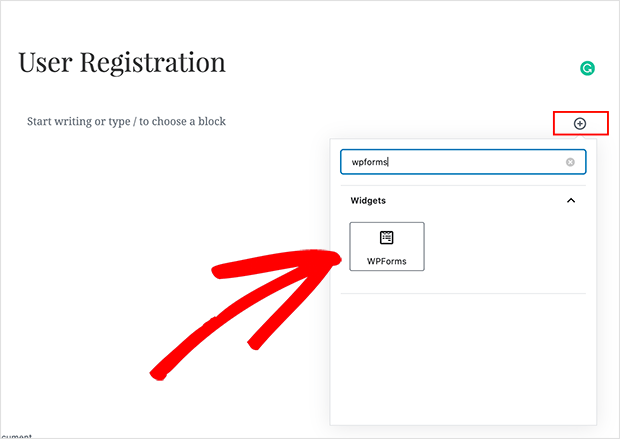
Here you can choose your user registration form from the drop-down box, which is then added to your page for you to preview.
Now you can go ahead and add any further information to your page. And when you’re happy, click Publish to launch your form on your website.
And that’s it!
You now know how to create a WordPress user registration form with custom fields. So users can register on your site and submit all the details you need to build their profiles.
If you’re interested in learning what else you can do with WPForms, have a look at our other WordPress form tutorials here:
- How to Create a WordPress Form With File Upload
- How to Create a Typeform-Style Form
- How to Create a Contact Form in WordPress
- How to Create an Online Order Form in WordPress
- How to Create a Multi-Step Form in WordPress
And if you’d like, do follow us on Facebook and Twitter for more helpful tips and tutorials.
The post How to Create a WordPress User Registration Form With Custom Fields appeared first on SeedProd.