There comes a time for every site owner where you’ll need to hide your WordPress site from the public until it’s ready. Doing so means you can hide unsightly changes until they’re polished and perfected for your audience.
But how do you hide your WordPress site until it’s ready? In this article, we’ll explain how to do just that. All so you can work away in the background and reveal changes when the time is right.
To help you navigate this post, here’s a table of contents:
- Install SeedProd Maintenance mode plugin
- Enable maintenance mode
- Design a custom maintenance page
- Publish your page
Before we get started, let’s think about why you might need to hide your website.
Why Might You Need to Hide Your WordPress Site?
We can think of plenty of reasons for wanting to hide your WordPress website from public view, so here’s a few examples:
- You might want to temporarily hide your site behind a splash page when changing WordPress themes.
- If you’re testing new site features, restricting access to certain pages avoids visitors experiencing errors.
- Site visitors might experience technical issues, so you can put your website in maintenance mode until the issue’s solved.
- If you’re building a brand new website, adding a coming soon page will hide your work until it’s ready.
And the common theme with all these examples is they give you the power to choose when visitors can view your website. So no more broken graphics or plugin errors turning away your audience.
Instead, you can put up an under-construction page to let them know you’ll be up and running again soon.
So how do you go about hiding your WordPress site? We’ll cover that next.
Hiding Your WordPress Site Until It’s Ready
The easiest way to temporarily disable your WordPress site is to put it into maintenance mode with a WordPress plugin. And for this, we suggest using SeedProd.
SeedProd is the best maintenance mode plugin for WordPress. It helps you build beautiful coming soon and maintenance mode pages in just a few clicks. Even better, it lets you limit access to your website while it’s under construction.
With this in mind, let’s look at how to hide your WordPress site until ready using SeedProd.
Step 1: Install SeedProd WP Maintenance Mode Plugin
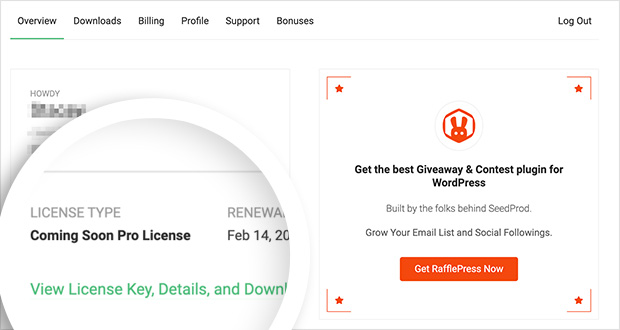
The first step is to get a copy of SeedProd. Once you’ve created your account, head to the login page to access your account dashboard.
From there click View License Key, Details, and Downloads as shown below.
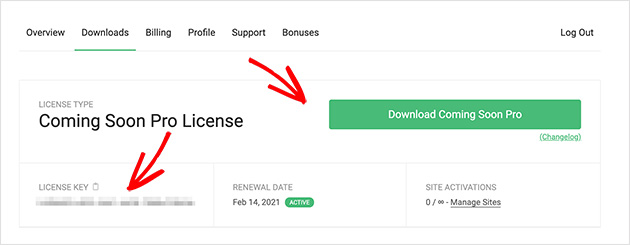
Then copy your license key and click Download Coming Soon Pro to save the plugin to your computer.
Next up is installing and activating SeedProd on your WordPress website. If you’re not familiar with how to do this, you can check out this step-by-step tutorial for how to install WordPress plugins.
Upon activating the plugin, you’ll see a page asking you to enter your license key. If you recall, you copied this when downloading the plugin.
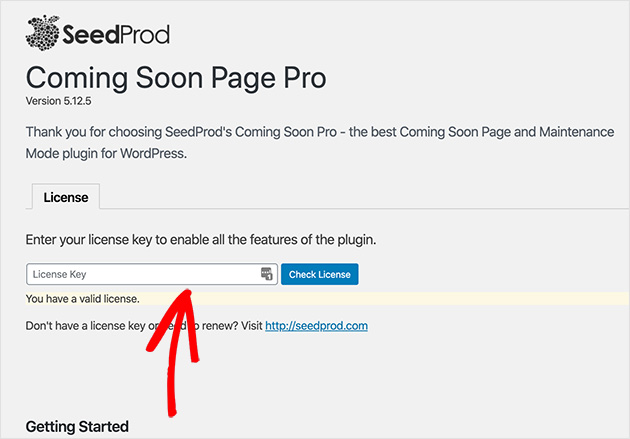
Simply enter your key and click Check License.
Step 2: Enable Maintenance Mode
To put your site into maintenance mode, from your WordPress dashboard, click Settings » Coming Soon Pro. This will take you to the SeedProd settings page.
Here click the radio button labeled Enable Maintenance Mode.
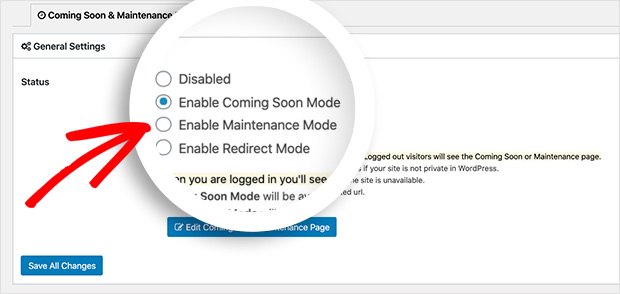
Then click the Save All Changes button.
Congrats! You’ve hidden your WordPress site. Now let’s look at making your page look a little more interesting to visitors.
Step 3: Design Your WordPress Maintenance Mode Custom Page
SeedProd makes it super-easy to design and customize maintenance pages in WordPress. And it’s important because it allows site visitors to still interact with your site even if it’s hidden.
Not only can you completely customize the look and background image of your page, but you can also add the following landing page elements:
- Email Signup Form – For users to subscribe to your email list and get updates for when you’re live again.
- Contact Form – Let people get in touch and ask questions through a modern lightbox contact form.
- Social Profiles – Direct visitors to your social profiles for updates and engagement while your site is hidden.
- Social Share Buttons – Encourage users to raise awareness about your new design or feature.
- Countdown Timer – Give people a visual idea of when they can access your main site again.
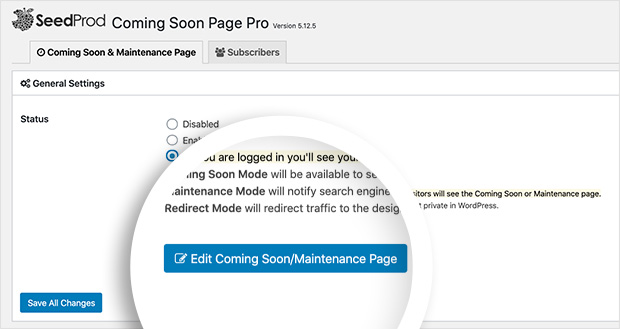
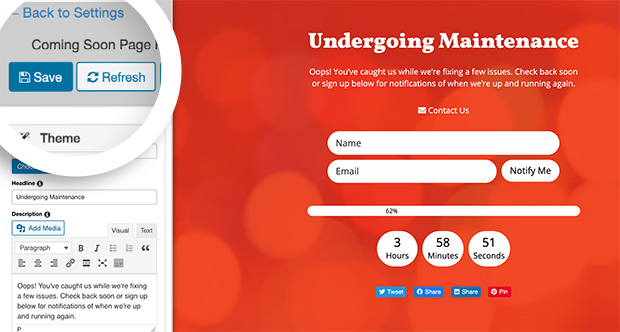
To begin designing your landing page click the Edit Coming Soon/Maintenance Page button.
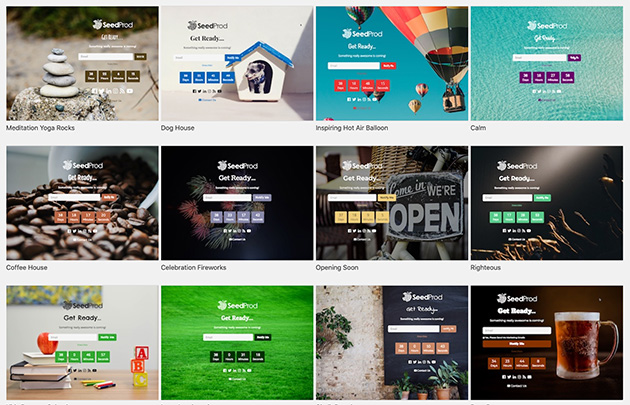
You’re then asked to choose a theme for your page. With over 50 themes and templates to choose from, there’s bound to be something that suits your needs. If there isn’t you can always select the blank template to start from scratch.
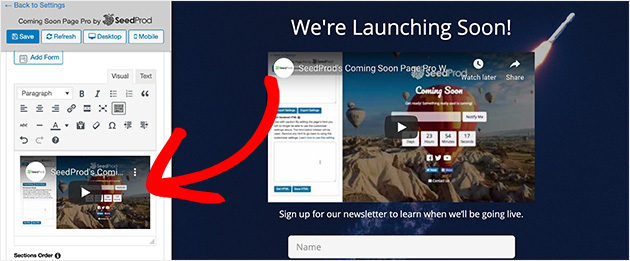
As soon as you’ve picked a theme, you’ll be taken to the page editor. Here you can add and remove page elements, customize your fonts and colors, and add a personal message for visitors.
For a full step-by-step guide to putting your WordPress site in Maintenance mode using SeedProd check this out.
Step 4: Publish Your Page
When you’re happy it’s time to publish your page. All you have to do is click Save and hit the Back to Settings link.
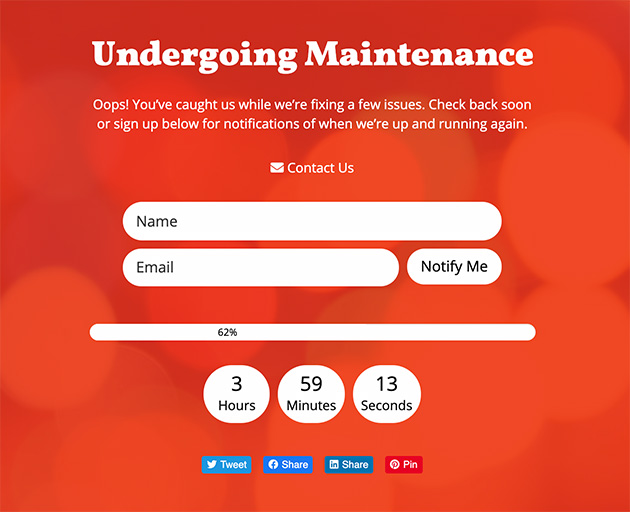
Here’s how your site will look to any new visitors. As you can see, everything else is hidden behind the landing page.
But what if you really need to give access to someone who can’t log in to your website? There’s actually a pretty simple solution.
On the SeedProd settings page, you can create a secret access link that lets people bypass the page hiding your WordPress site.
From the Settings » Coming Soon Pro page, scroll down until you see the section called Access Controls.
Here you can create a secret phrase, which is added to a unique bypass URL.
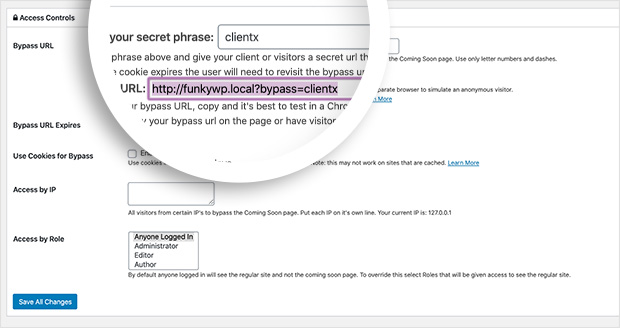
Then you can send this to anyone you’d like to have access to your site, without them seeing the construction page.
With this in mind, let’s take a look at how to disable maintenance mode in WordPress.
How Do You Turn Off WordPress Maintenance Mode?
If you’ve followed the steps above for using SeedProd to set up maintenance, the time will come when you want to disable it.
To turn off WordPress maintenance mode, head to Settings » Coming Soon Pro. Then click the Disabled radio button.
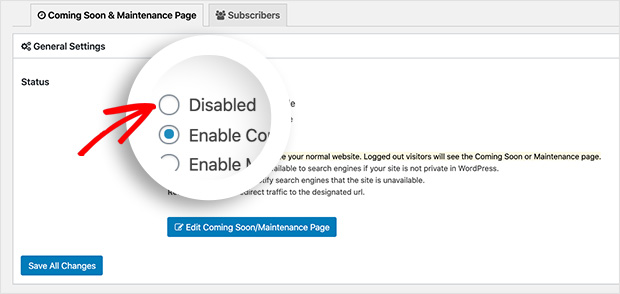
Next click Save All Changes. Now your site is no longer hidden.
What if you don’t want to use a plugin to set a maintenance page? We have instructions for that next.
Enabling WordPress Maintenance Mode Without a Plugin
To enable maintenance mode in WordPress without a plugin, you’ll need to edit your theme’s functions.php file.
We’ve put together a code snippet you can use to make things a little easier. If you’re not familiar with how to do this, it’s best to ask your site developer to do this for you.
Simply edit your theme’s functions.php file and paste in the following code:
function maintenance_mode() {

      if ( !current_user_can( 'edit_themes' ) || !is_user_logged_in() ) {wp_die('Maintenance.');}

}
add_action('get_header', 'maintenance_mode');
To disable the maintenance mode and let users to see your website, comment out the last line like this:
// add_action();
Since you’re familiar with hiding your WordPress site until it’s ready, how do you hide it from Google too? We’ll cover that next.
Hiding Your WordPress Site from Google
Hiding your website from Google is mainly done when you don’t want your site to be indexed in search engines. This stops your web pages from appearing in search results.
You can hide your site from Google using a plugin, or by editing one of your site files. Let’s take a look at each method.
Method 1: Hiding Your Site From Google With a Plugin
To hide your site from Google with a plugin, start by downloading and installing the Yoast SEO plugin. Once you’ve activated it, head to any post or page and click Edit.
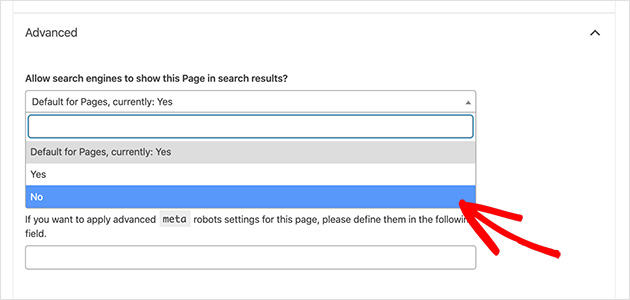
Then scroll to below the editor where you’ll see the Yoast SEO settings. To hide posts and pages from Google, you’ll need to expand the Advanced tab.
Then in the first dropdown box, choose No to stop search engines from showing your post or page in search results.
Publish your changes, and your content for that specific post or page will be hidden from Google.
Method 2: Hiding Your Site From Search Engines Using robots.txt File
Alternatively, you can hide your Website from search engines by editing your site’s robots.txt file. This might be a little tricky for beginners, so only use this method if you’re sure you know what you’re doing.
You can edit your robots.txt file by connecting to your site using an FTP client or the ‘File Manager’ in your WordPress hosting provider.
Then you’ll have to add these lines of code to your robots.txt file.
User-agent: *
Disallow: /your-page/
Make sure you replace ‘your-page’ with the URL you’d like to hide and save your changes.
And there you have it! You now know how to hide your WordPress site until it’s ready for public viewing.
We hope you found this guide helpful. If you’re interested in building a coming soon page instead too, check this out.
And don’t forget to follow us on social media too. You can find us on Twitter and Facebook here.
The post How to Hide Your WordPress Site Until It’s Ready appeared first on SeedProd.